STEP 1. DIY GARLAND: Fresh garland is a holiday staple. Add an assortment of evergreens to your mantel. To create your own length of holiday greenery, put on a pair of work gloves, grab hand clippers and a bucket, and head to your backyard to cut a few branches from your pine, cedar, or fir trees. Or use the excess trimmings from your Christmas tree to create your own garland. Measure your mantel and cut a piece of jute twine to the desired length. With a spool of floral wire (available in local craft stores) and using the twine as a base, layer the greenery along the twine while wrapping the greens and twine together tightly with floral wire. Continue layering the greens along the twine guide with the wire until you have reached your desired length. Tie the wire at the end and drape loosely along your mantel.
Make your garland lush and luxurious by tucking in a few stems of something unusual. I like adding plumosa fern, baby’s breath, branches, berries, and pine cones to my holiday garlands. Take this accent to your other rooms, too. Garland looks great draped along staircases, running down the center of a dining table, or placed gently along a bedroom headboard.

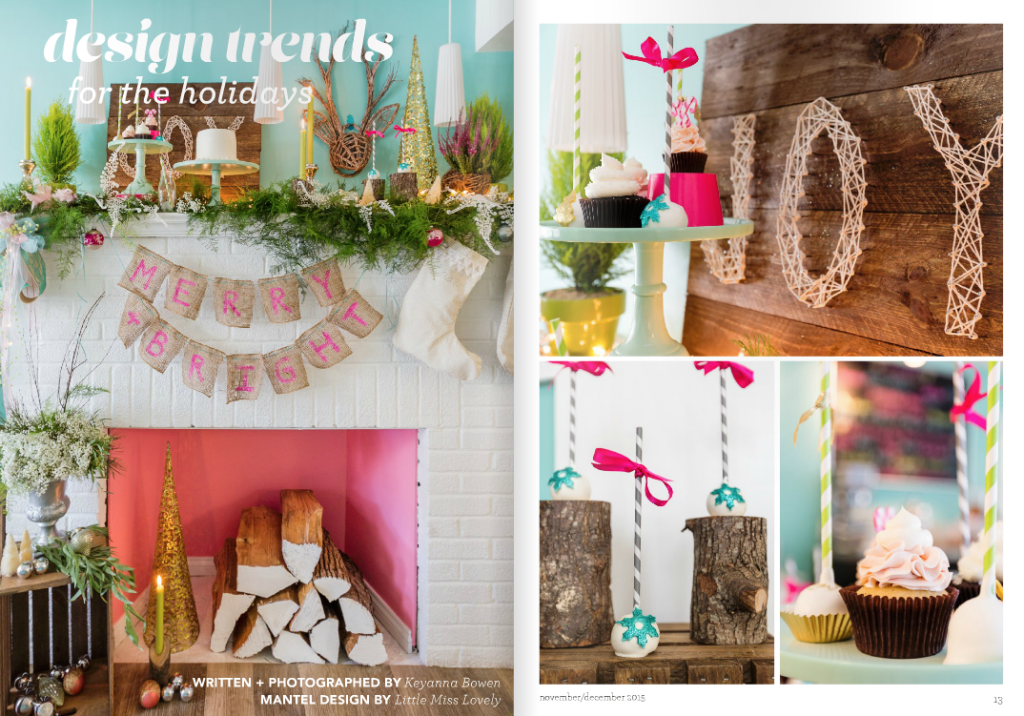
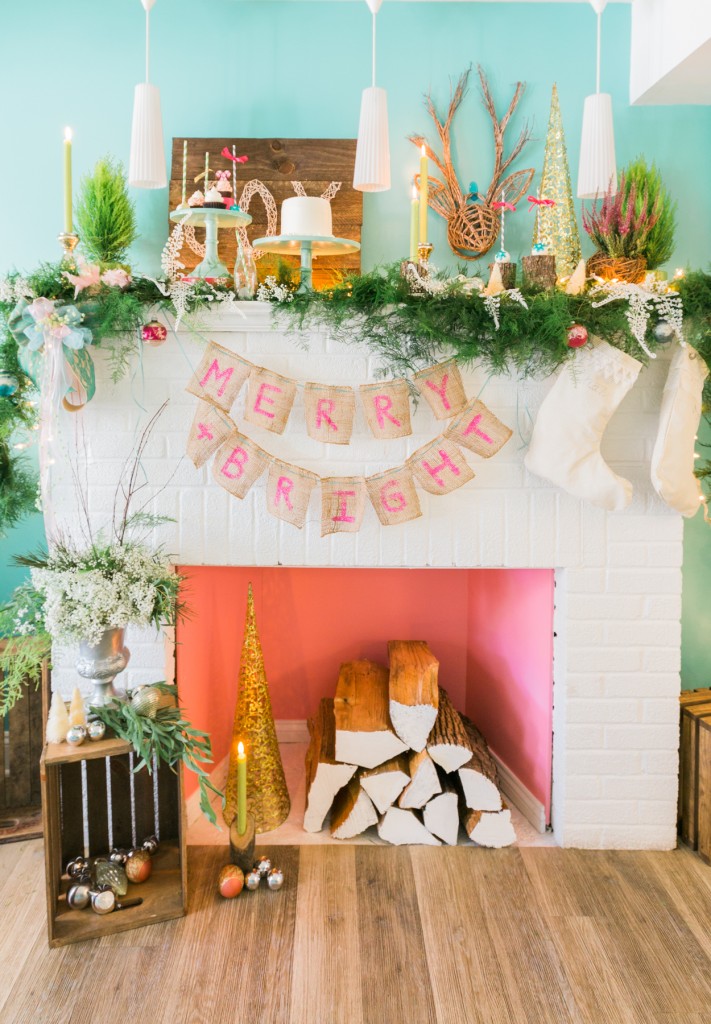
 STEP 2. PERSONALIZE IT: Personalize your holiday decor to fit your home and your style. Pick out a color scheme and play around with it. For this mantel, I played off of the robins egg blue walls and pink fireplace accent color by adding pops of lime green. I added rustic wood elements, burlap accents and textural greenery to neutralize the bright colors. Sparkling mercury glass pieces added some glamour to the scene.
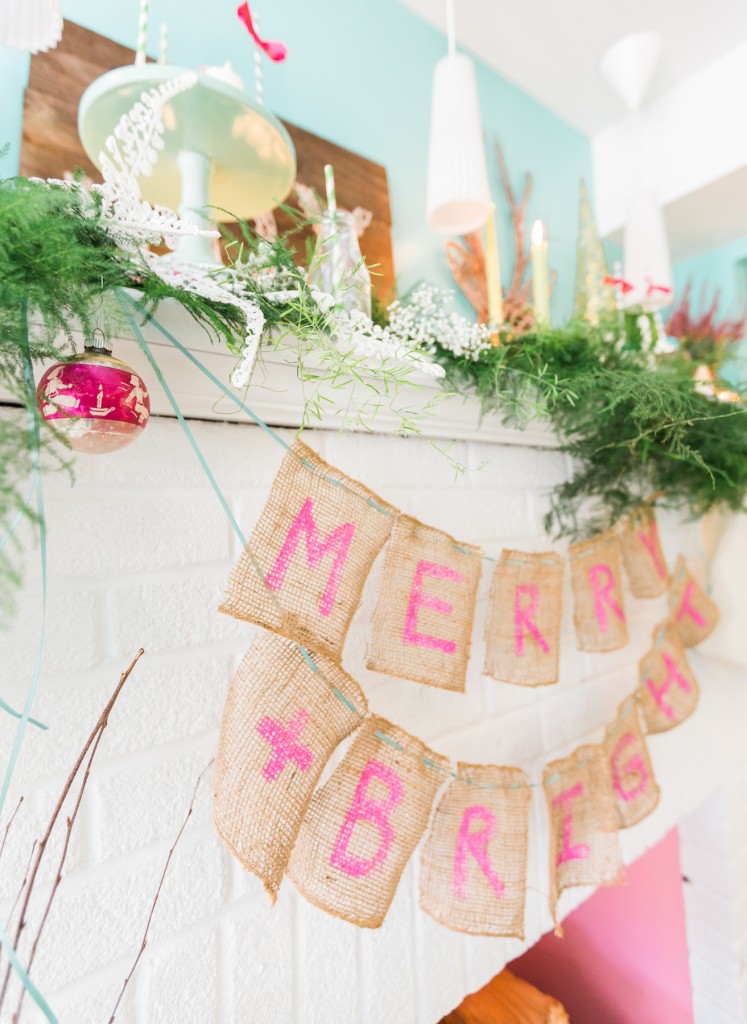
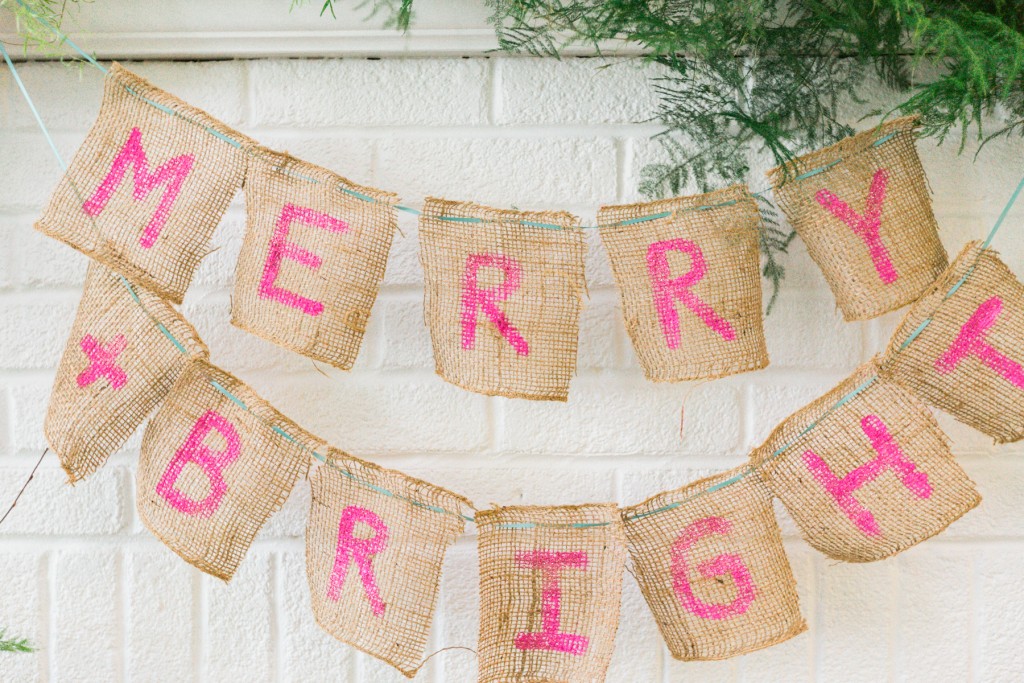
The Merry + Bright bunting was made with a small spool of burlap and acrylic craft paint. I ran teal ribbon through each hand-painted burlap flag with a needle and strung them together.
The string art sign placed on the mantel was a fun project. I used reclaimed wooden fence posts to create the backing. Using a hammer and a few dozen nails, I spelled out the word “JOY”. Bakers twine was strung, twirled, and looped on each nail to create a webbed effect and fill in the letters. You could make other holiday inspired string art pieces to fit just about any color scheme or theme this season – and it is an easy project that would make for a great homemade gift, too.
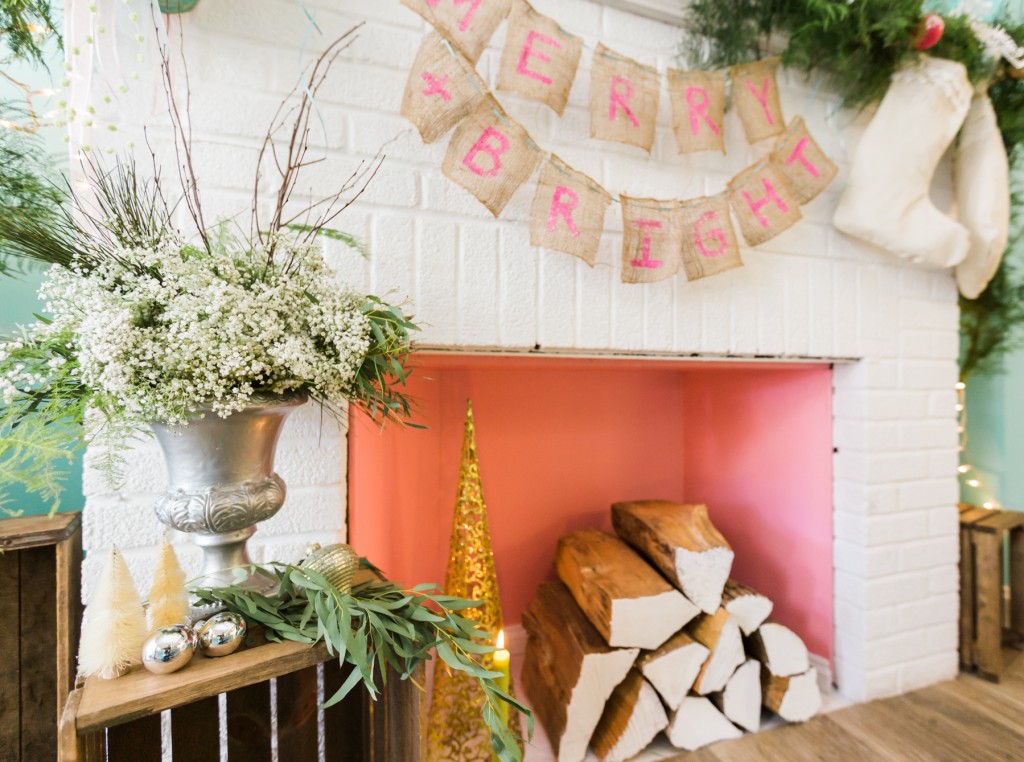
STEP 3. ADD RUSTIC & OUTDOOR ELEMENTS: Bring the outdoors inside. Gather a few bare branches from your backyard and place them in urns on either side of your mantel to add height to your design. Paint the ends of a few logs and stack them inside of a faux fireplace to add some design juxtaposition. Plant baby evergreens in pots and bring them inside for the season. Once the holidays are over, plant your trees outside and foster them with love all year long.
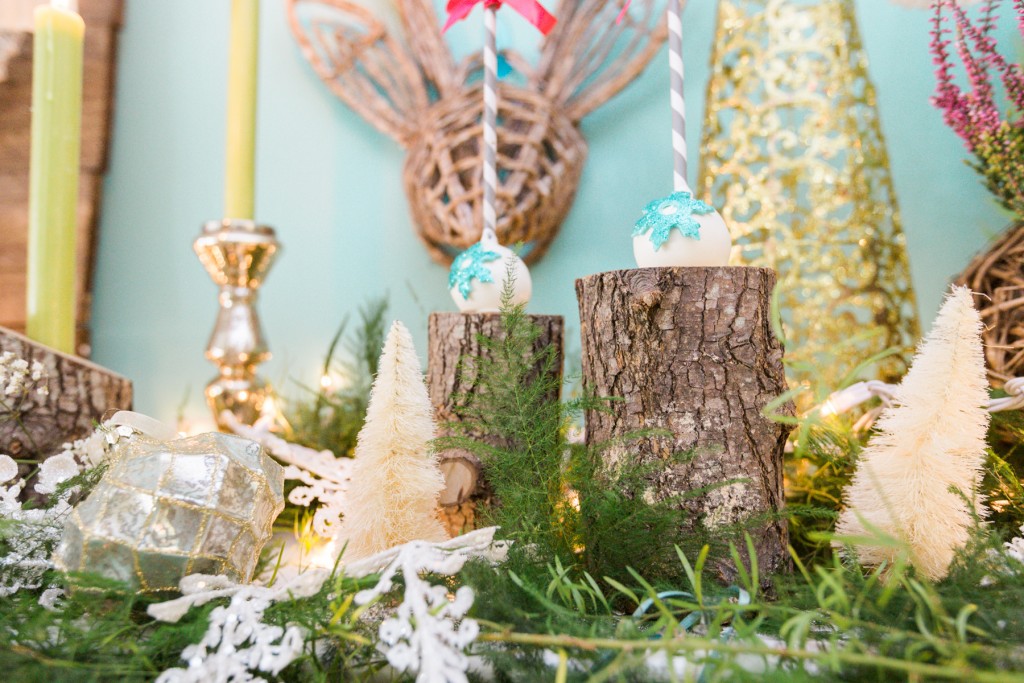 STEP 4. ADD A TOUCH OF WHIMSY: Add a few whimsical elements to your holiday decor to keep things light and playful. A faux-taxidermy deer was created using natural dried grapevine and hung above the mantel. Cascading bows made of burlap, lace, and stands of pom poms added playfulness. Glittery floral picks in fun colors can add a perfect ‘pop’ to green garlands.
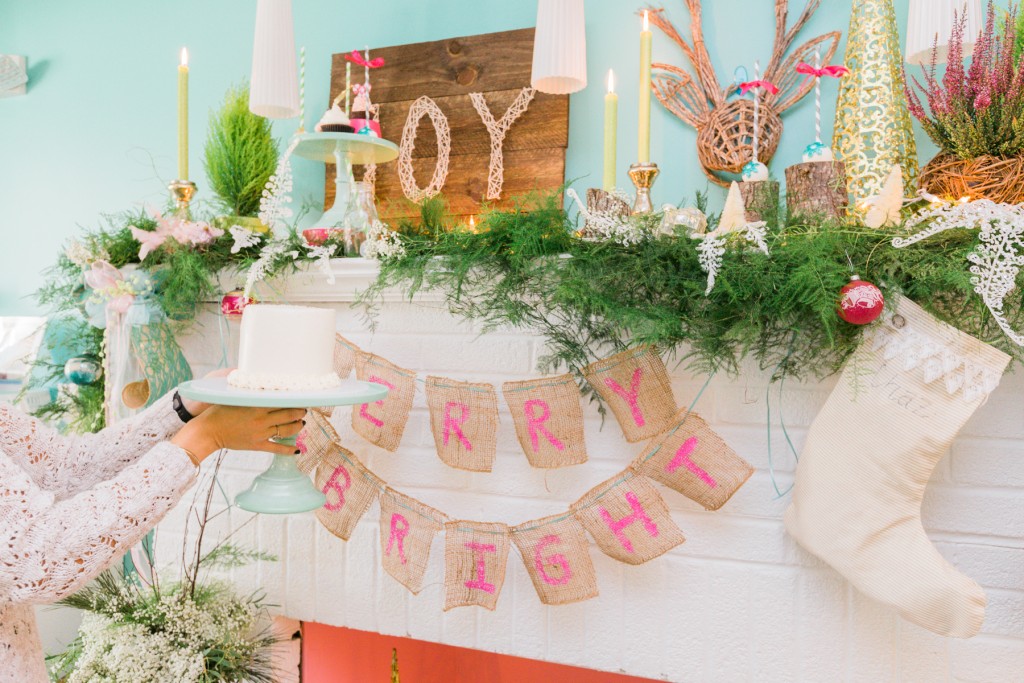 STEP 5. HAVE IT SERVE DUAL PURPOSE: If you are throwing a holiday party or having family and friends over throughout the season, draw them to your decor. Everyone always stops to check out fully decorated Christmas trees covered in ornaments, balls, and tinsel, but get them to notice your mantel, your staircase and other decorated areas in your home, as well. Place jars of candies on your mantel, or a plate of desserts next to a holiday scene. It will make your house feel extra spirited and will allow your guests to check out all of the neat holiday items you have collected over the years!

Comments
One response to “How To Create The Perfect Holiday Mantel”
Love these ideas/tips. Since I no longer do a tree, I want to make my mantels festive and the centerpiece of my holiday decor. Love the articles in the magazine also.