It’s been so fun documenting and sharing my rental kitchen makeover with you guys, and I’m excited to finally share the big reveal! Even though this was a small scale/small budget project, it’s amazing how dramatic the transformation is. I couldn’t be happier with how everything turned out, and it’s so nice to finally have a kitchen that is charming and inviting! You can watch the full reveal below. I would love to know what you guys think, so be sure to leave a comment on my YouTube channel (and subscribe)!
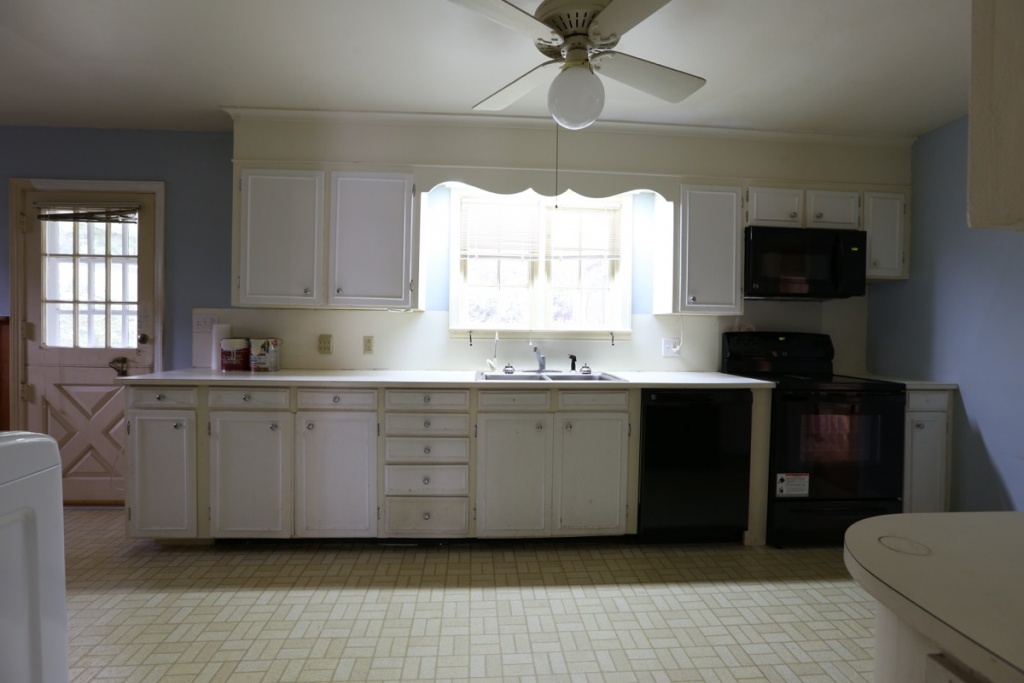
For those who are new here, this is what the kitchen used to look like. You can watch the before tour & demo day videos (here & here).
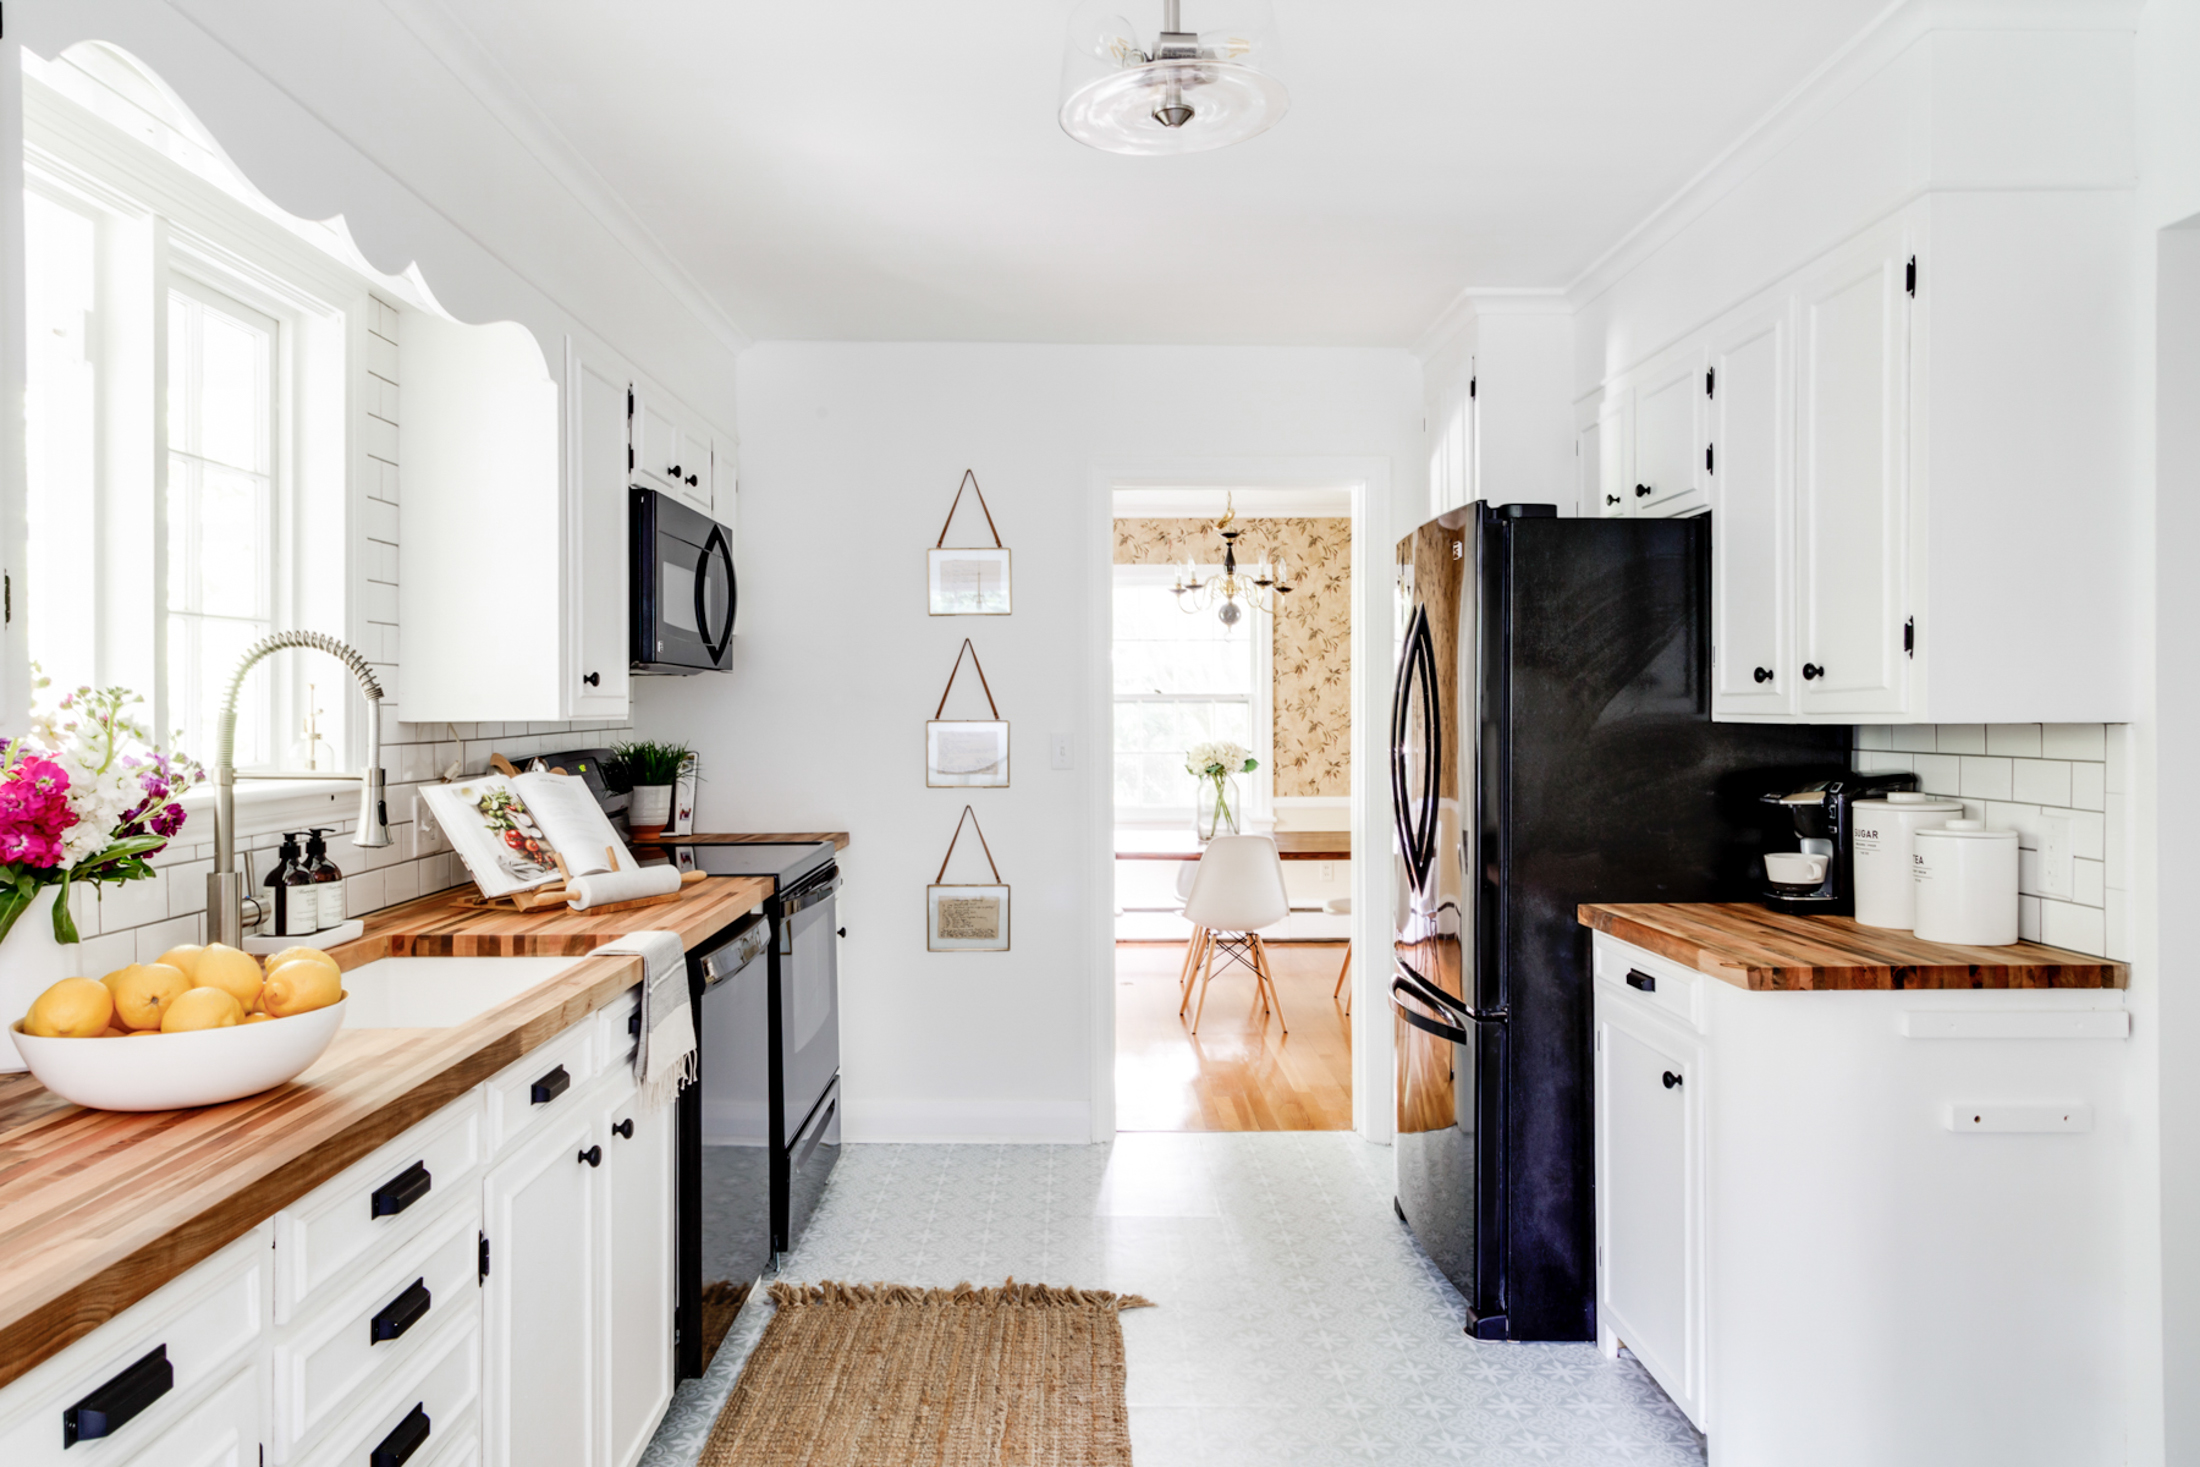
And this is what the kitchen looks like now (my pics don’t do it justice, so definitely check out the video). But for those who want to know all the details and budget breakdown keep reading…

 Sidebar: Look how ugly our dining room is. That room is getting a makeover next!

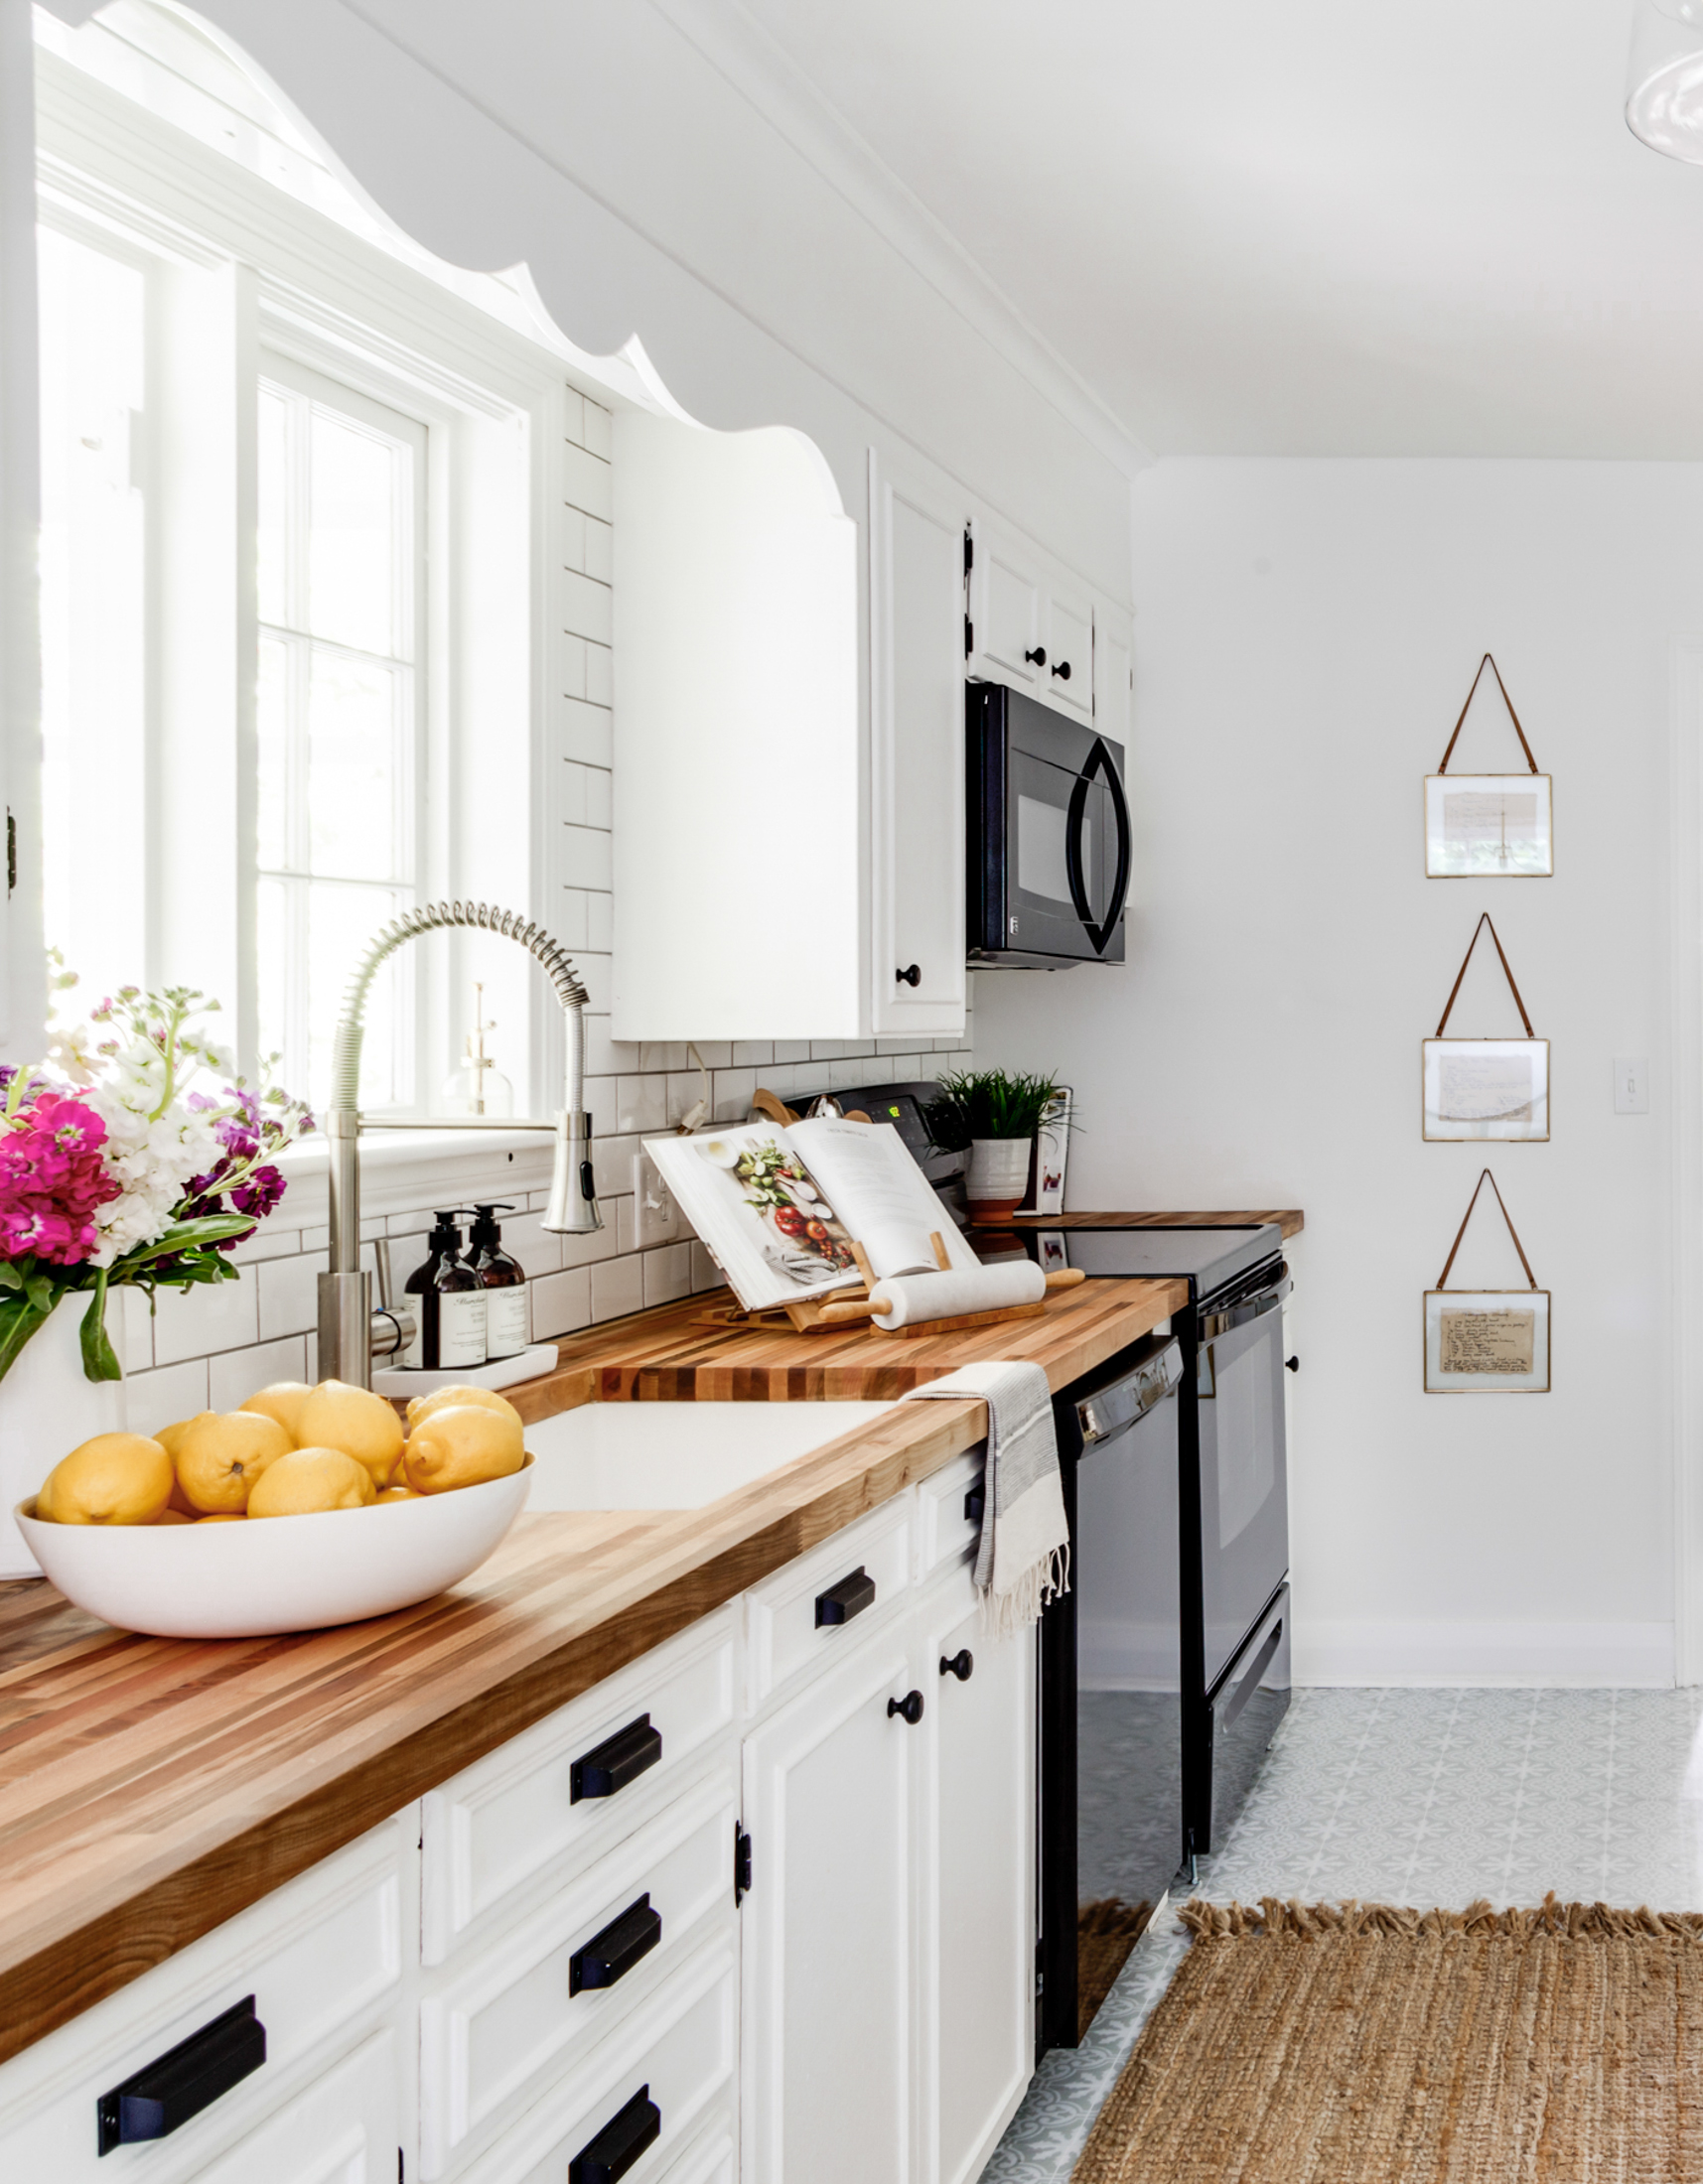
The maple butcher block counters. Swoon! They are from Lumber Liquidators. I’m so glad I went with butcher block instead of a laminate. I think butcher block gives the illusion of more value. Laminate counters tend to imply ‘I couldn’t afford the real thing, so I went with laminate’. Whereas butcher block (although comparable in price) comes off as more of a design/aesthetic decision like, ‘I wanted a rustic/cottage look so I went with butcher block’. Plus from a rental perspective, you can’t beat its durability. Any ware and tear or stains can be sanded out, so they can continue to look fresh and new for future tenants.
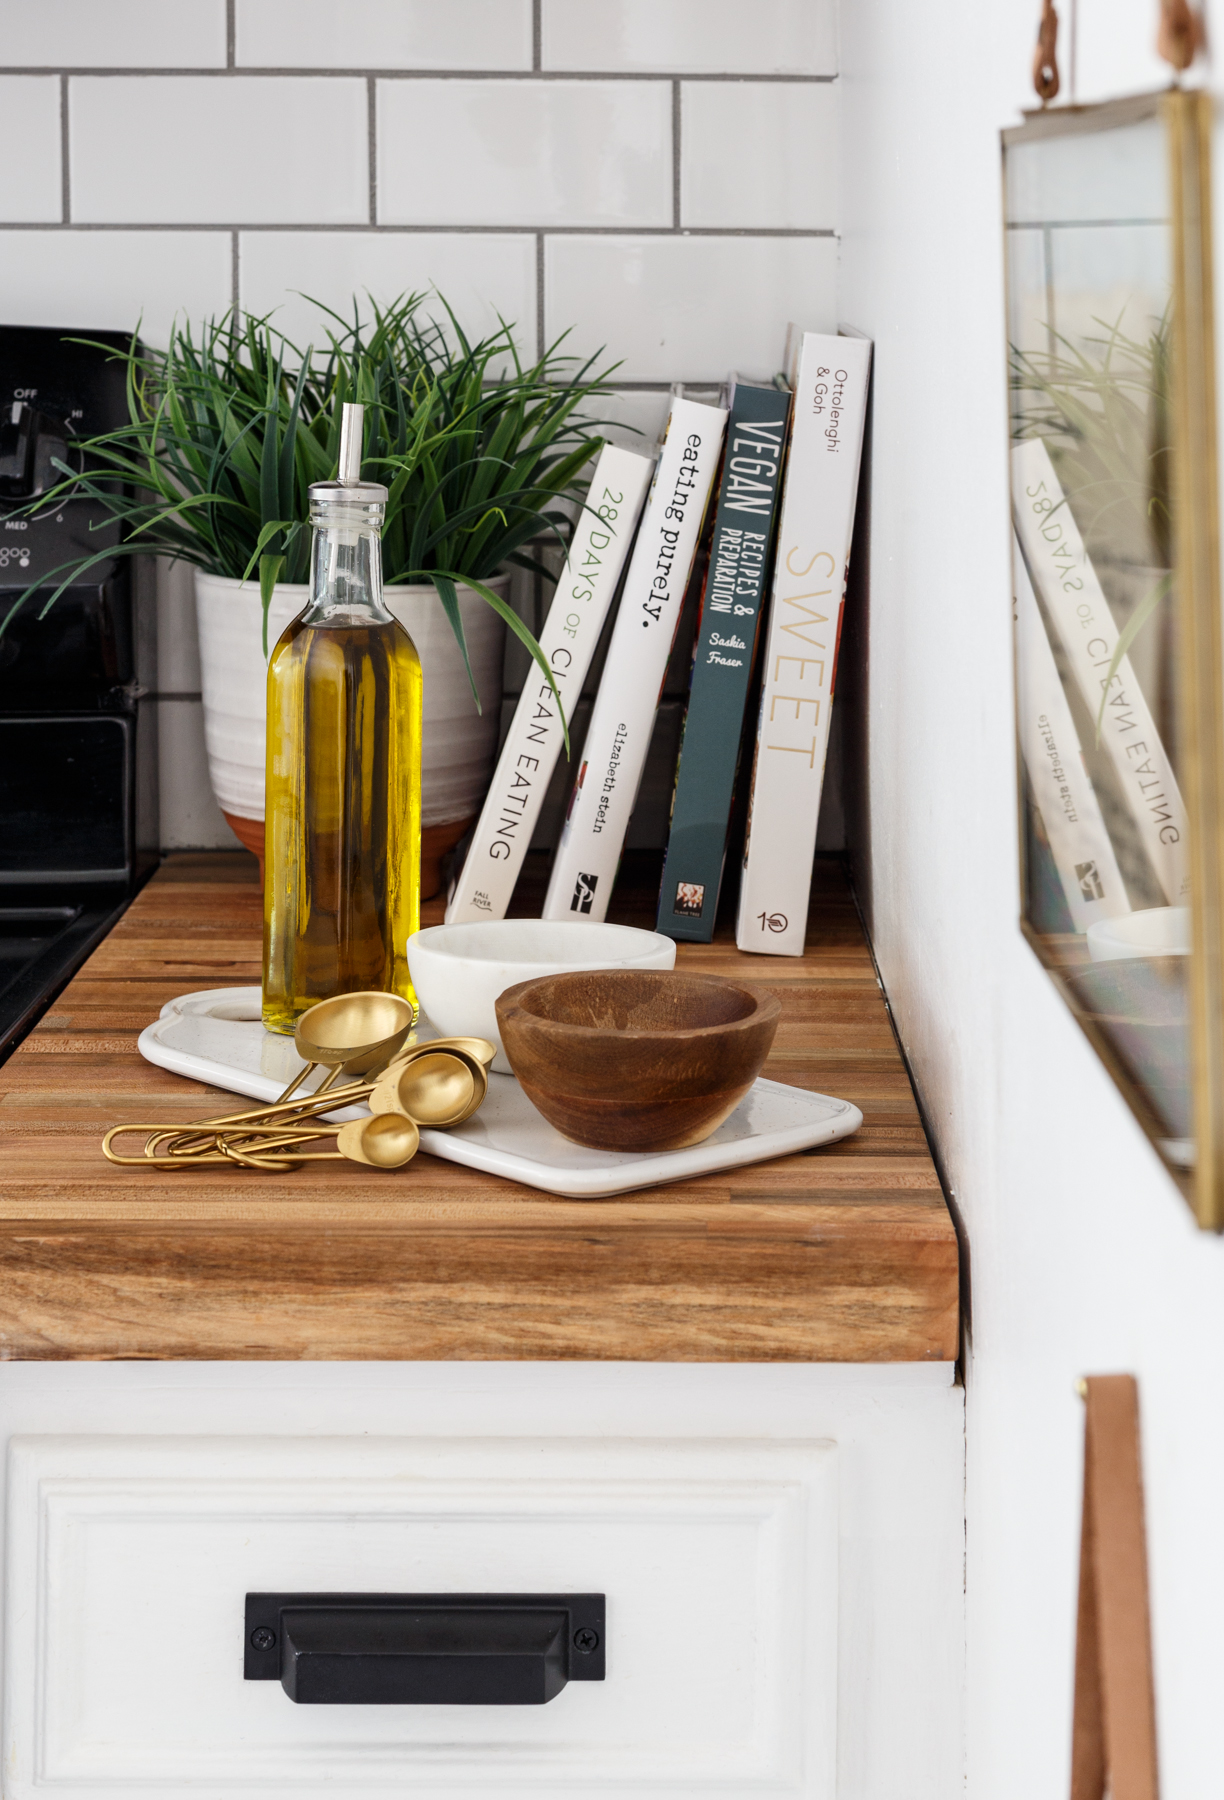
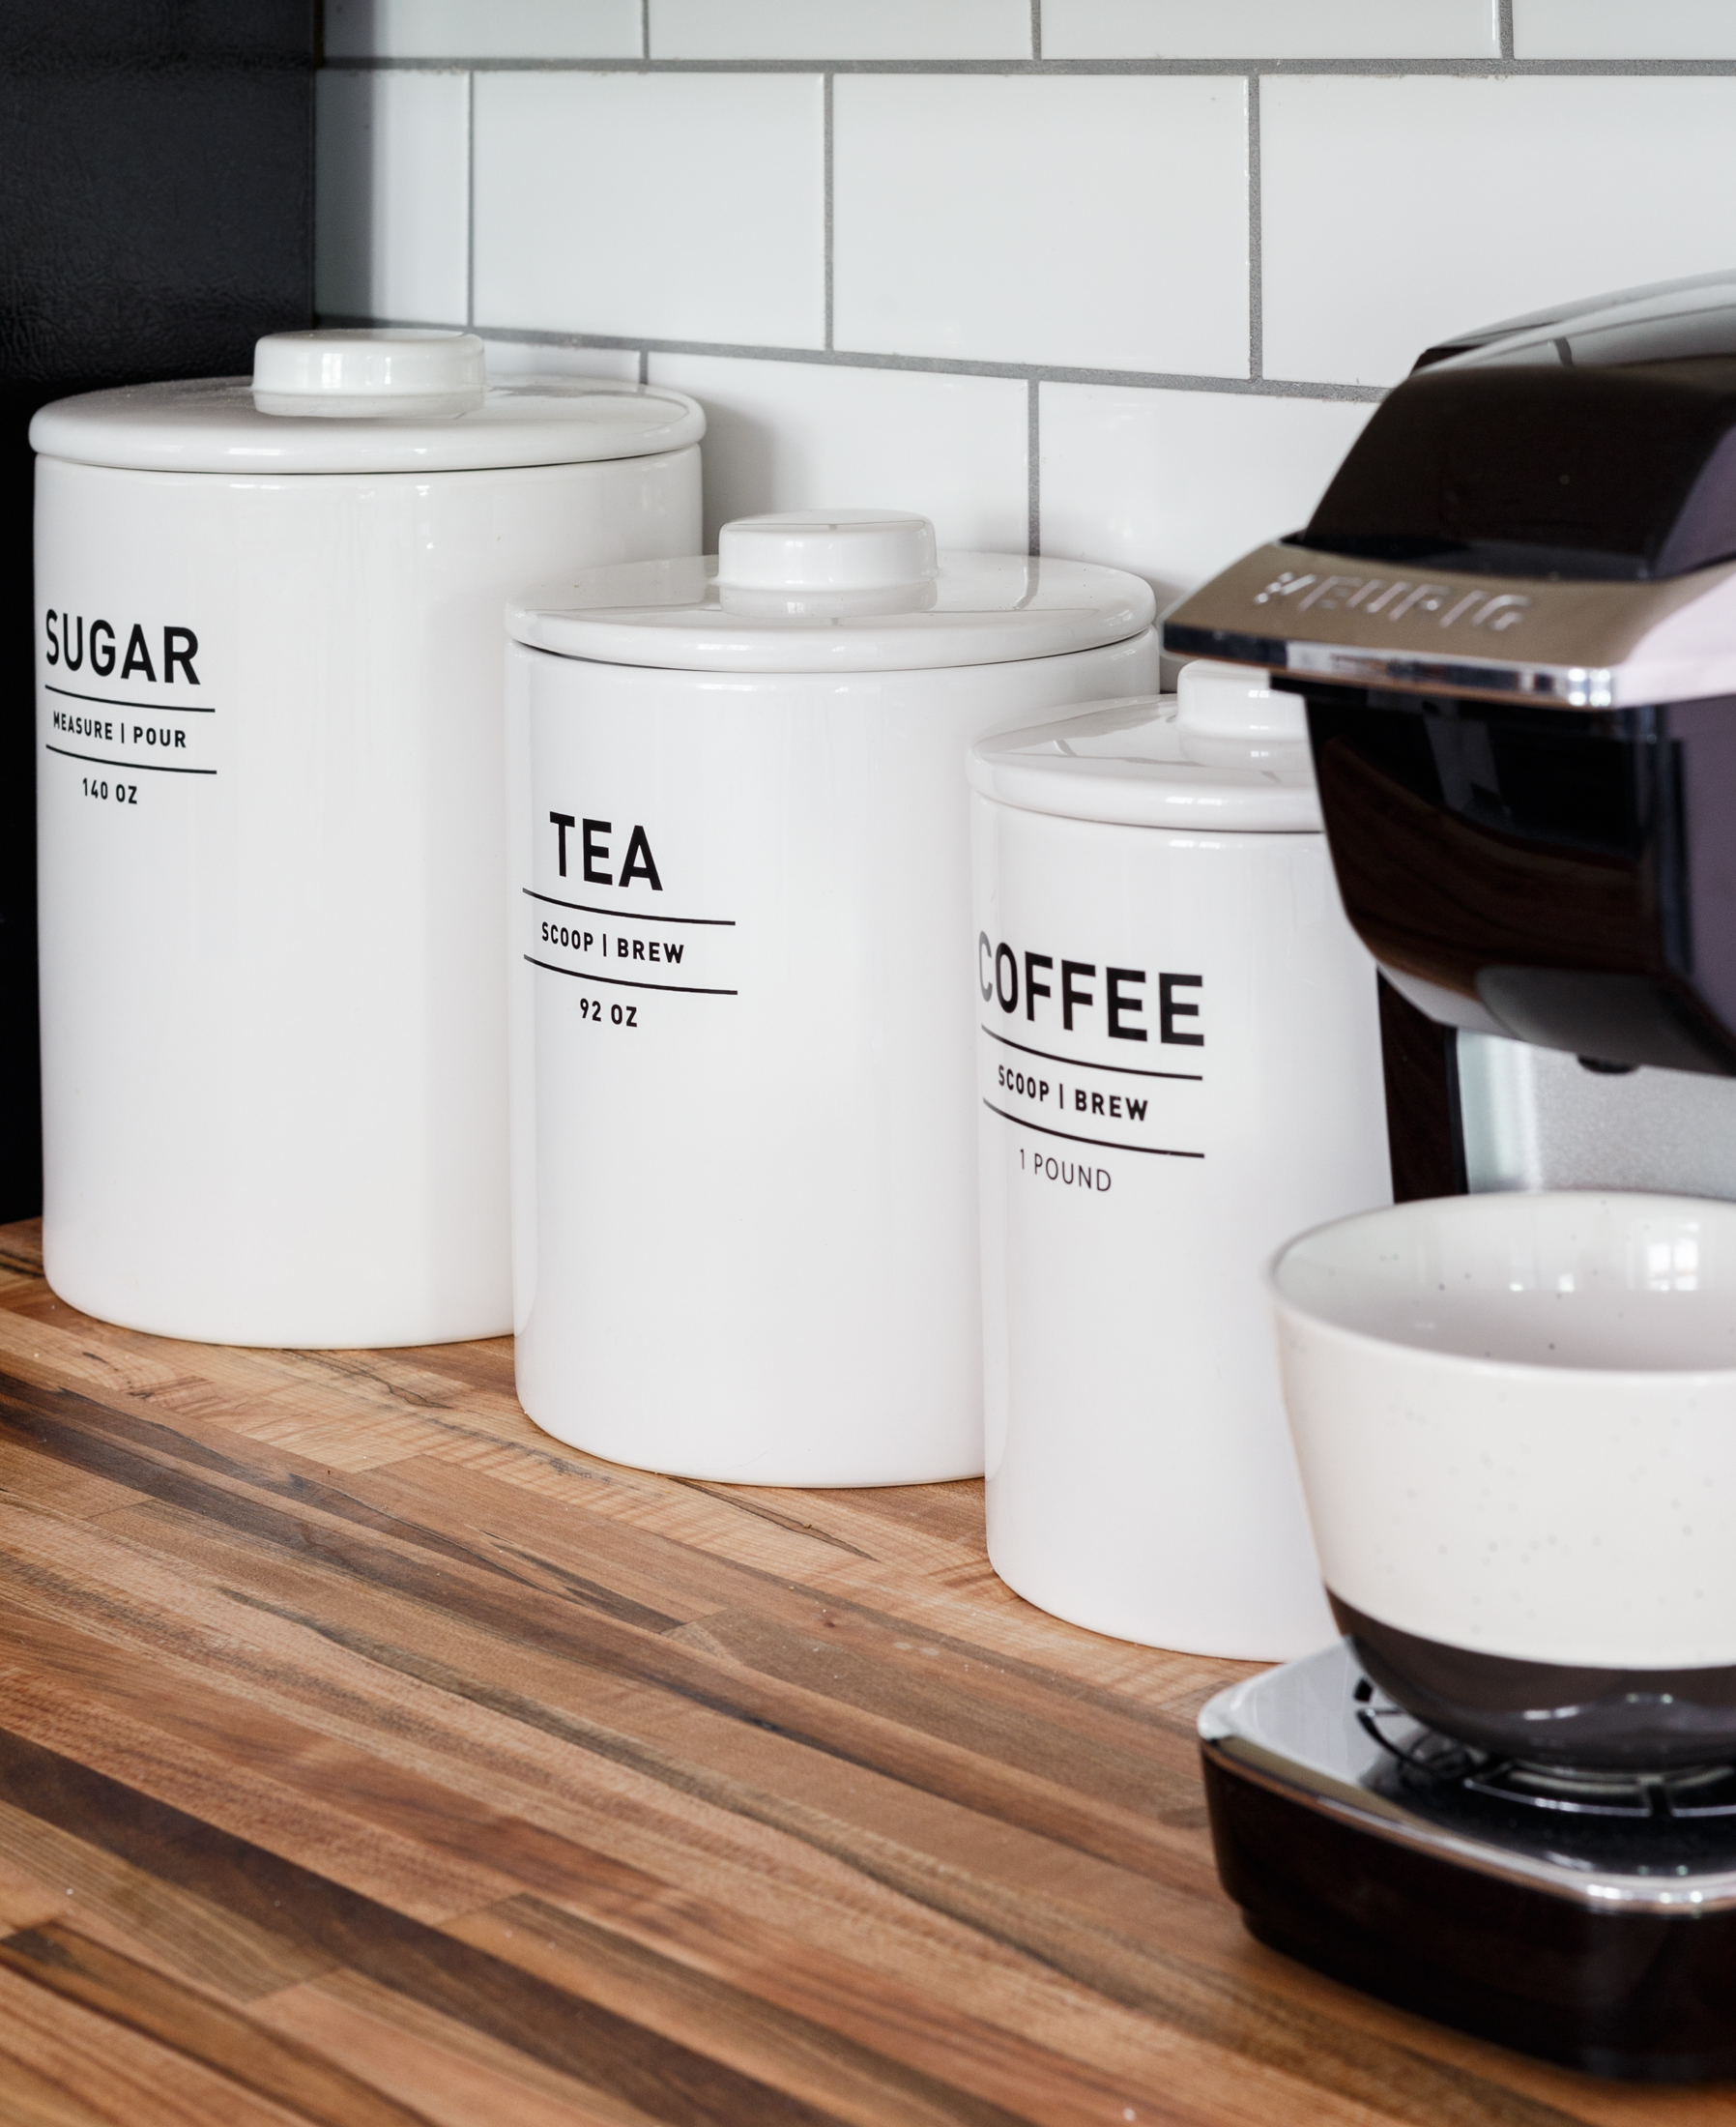
I’ve gotten asked a few times if I stained the counters. Nope! Once you seal the counters with a wood conditioner (I use this one), the wood will naturally start to darken. So before you think about staining your wood counters, first see what color they naturally turn with wood conditioner. What was once a light maple color is now more of an oak color, which is exactly the color I wanted them to be, so I’m so happy I didn’t have to go through the process of staining them.
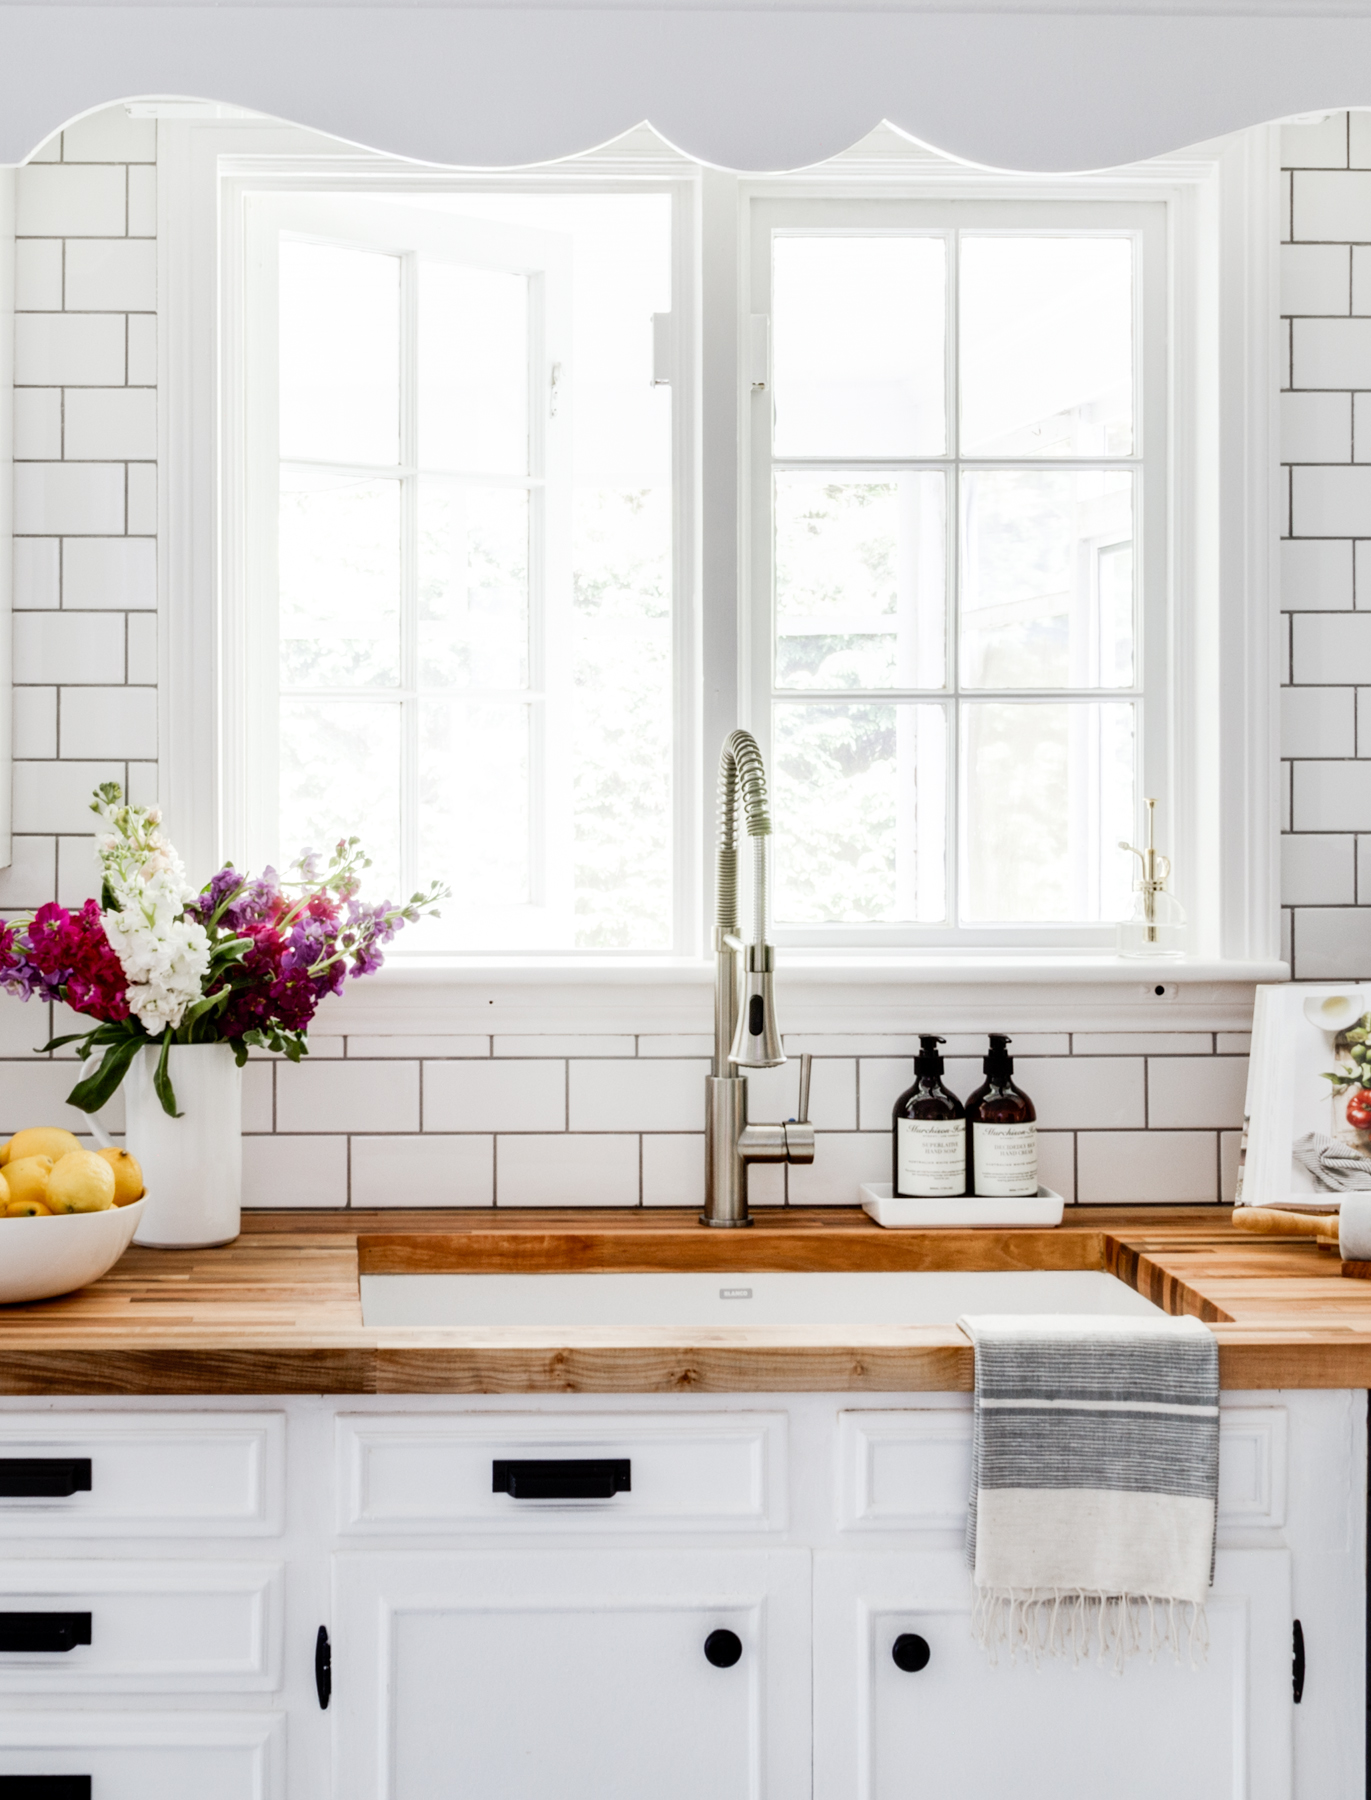
The Sink. The 32″ single basin undermount sink is by Blanco, and MAN has it changed my life! Yes, a sink has improved my life. The fact that its undermounted makes cleaning so much easier. Some people may prefer a double basin, but I think the single-basin looks more sleek & modern, not to mention it makes washing large pots and pans a breeze! I paired it with a more industrial style faucet to help give the kitchen a bit of a modern edge.
For the cabinet hardware, I didn’t want to do the traditional round bin pulls because I thought that would make the kitchen look too “farmhousey”. So I went with these pulls (here) that have more of a rectangular silhouette, (again just trying to give the kitchen a modern edge). I really wanted a matte black finish, but they only came in brushed nickel, so I spray painted them matte black. You would never know they weren’t originally that color/finish. To save on budget, I only updated the drawer pulls and just spray painted the old cabinet knobs and hinges to match.

The Quadrostyle flooring. I’m doing a whole post on this so I don’t want to give too much away, but I’m so happy with how it turned out. Before the installation I was second guessing the size/scale of the pattern, but once it was installed it gave the kitchen so much charm and personality! And yes, they are durable — I’ve had no issues with maintenance or clean up. Again, more details and a full review in the upcoming post. In the meantime if you have any questions about them, leave a comment and I’ll answer.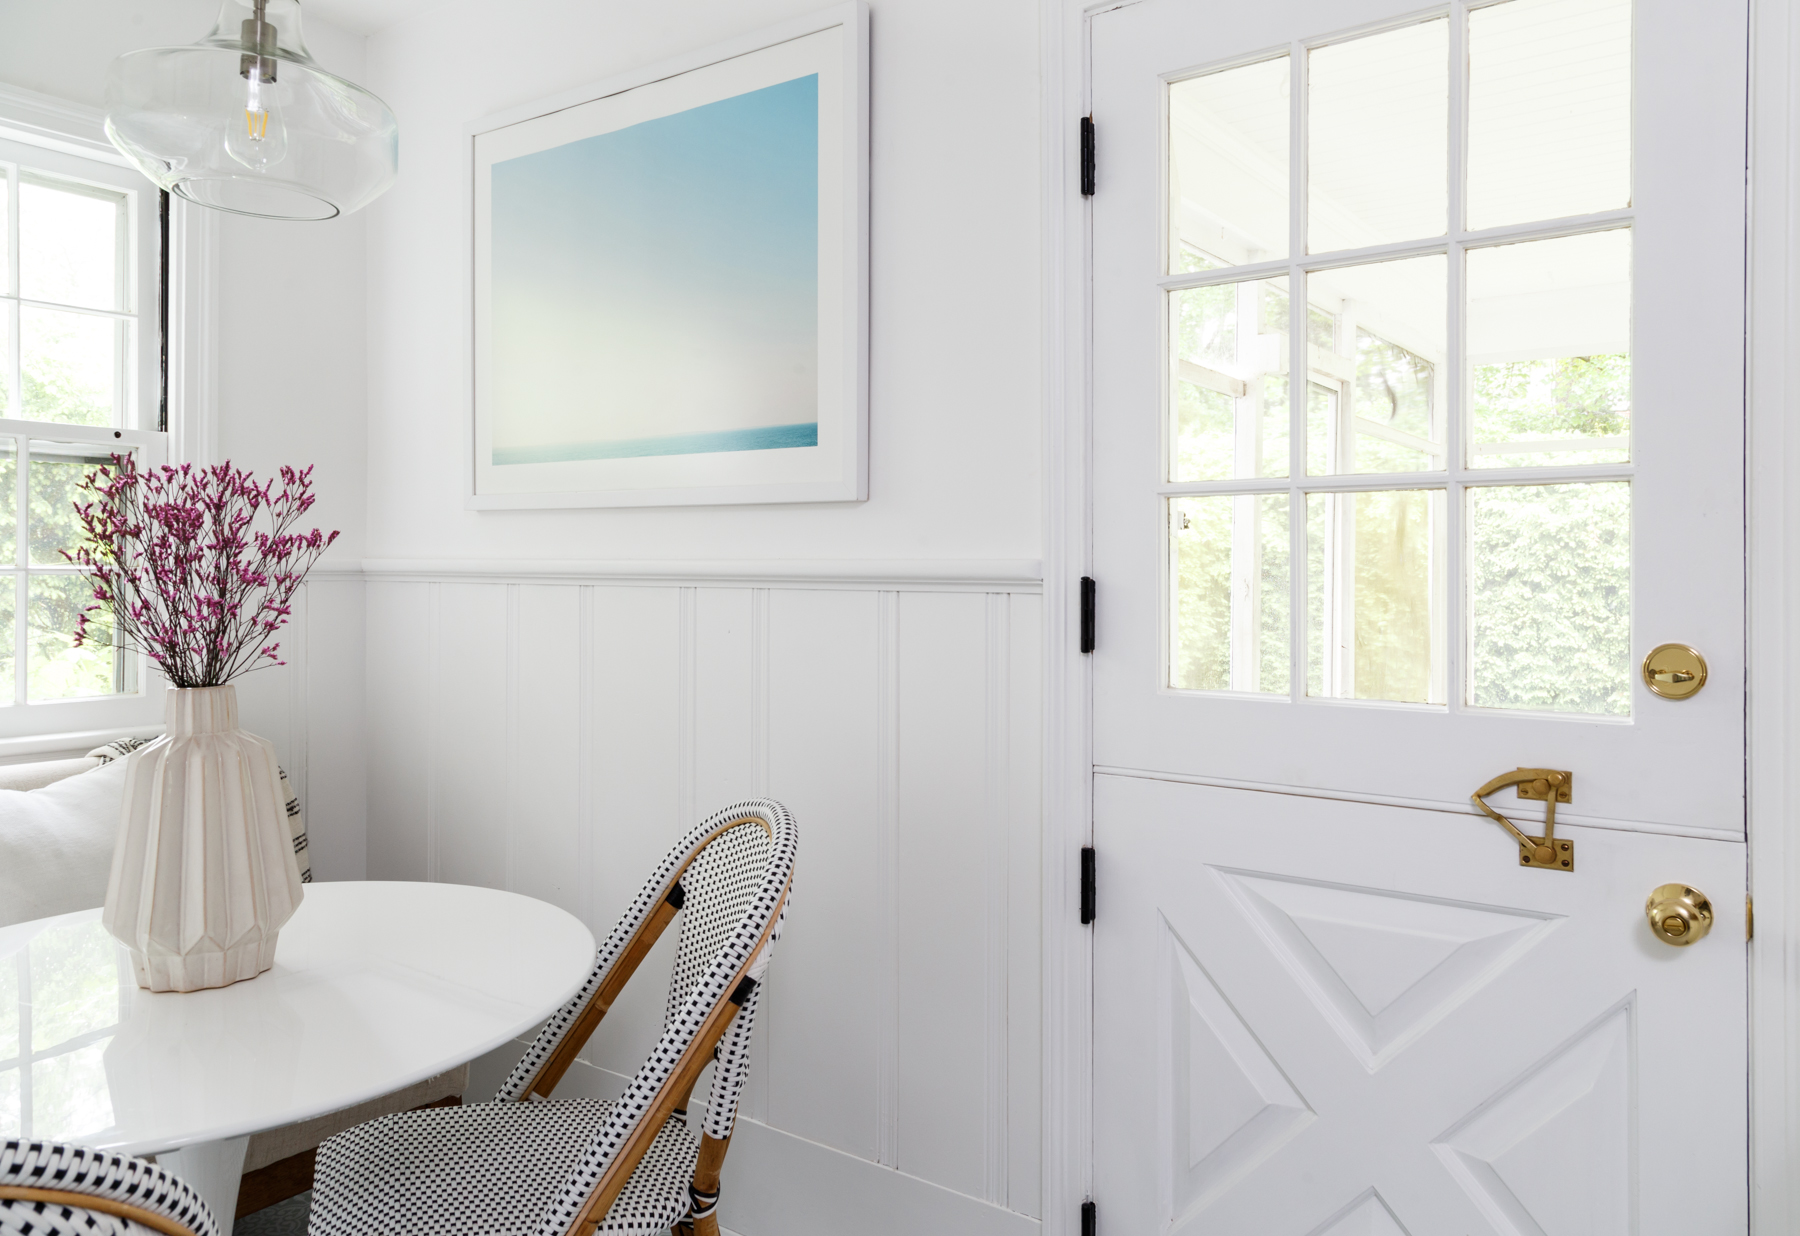
 The dutch door was a labor of love. It took a bit of elbow grease but I cleaned up the brass hardware by scrubbing it with a DIY cleaning solution I made with lemon and baking soda. I stripped years of old paint off the door hinges by boiling them in hot water, and then spray painted them black. Again, lots of elbow grease needed, but it worked. I went back and forth as to whether to paint the door a color, or to just leave it white. In the end, I opted for a two-tone look by painting the exterior side of the door Black Magic by Sherwin Williams. It’s the perfect soft black hue and makes the door look even more charming.
I’m so happy I no longer have to do laundry in the kitchen. The washer & dryer have a new home in the basement, and now I have this great severing area in its place. I love this free standing island. The stone top is the perfect juxtaposition for the wood counters and makes the kitchen so much more functional. I plan on adding wheels to it so I can move it to the middle of the kitchen and use it for extra prep space when cooking.
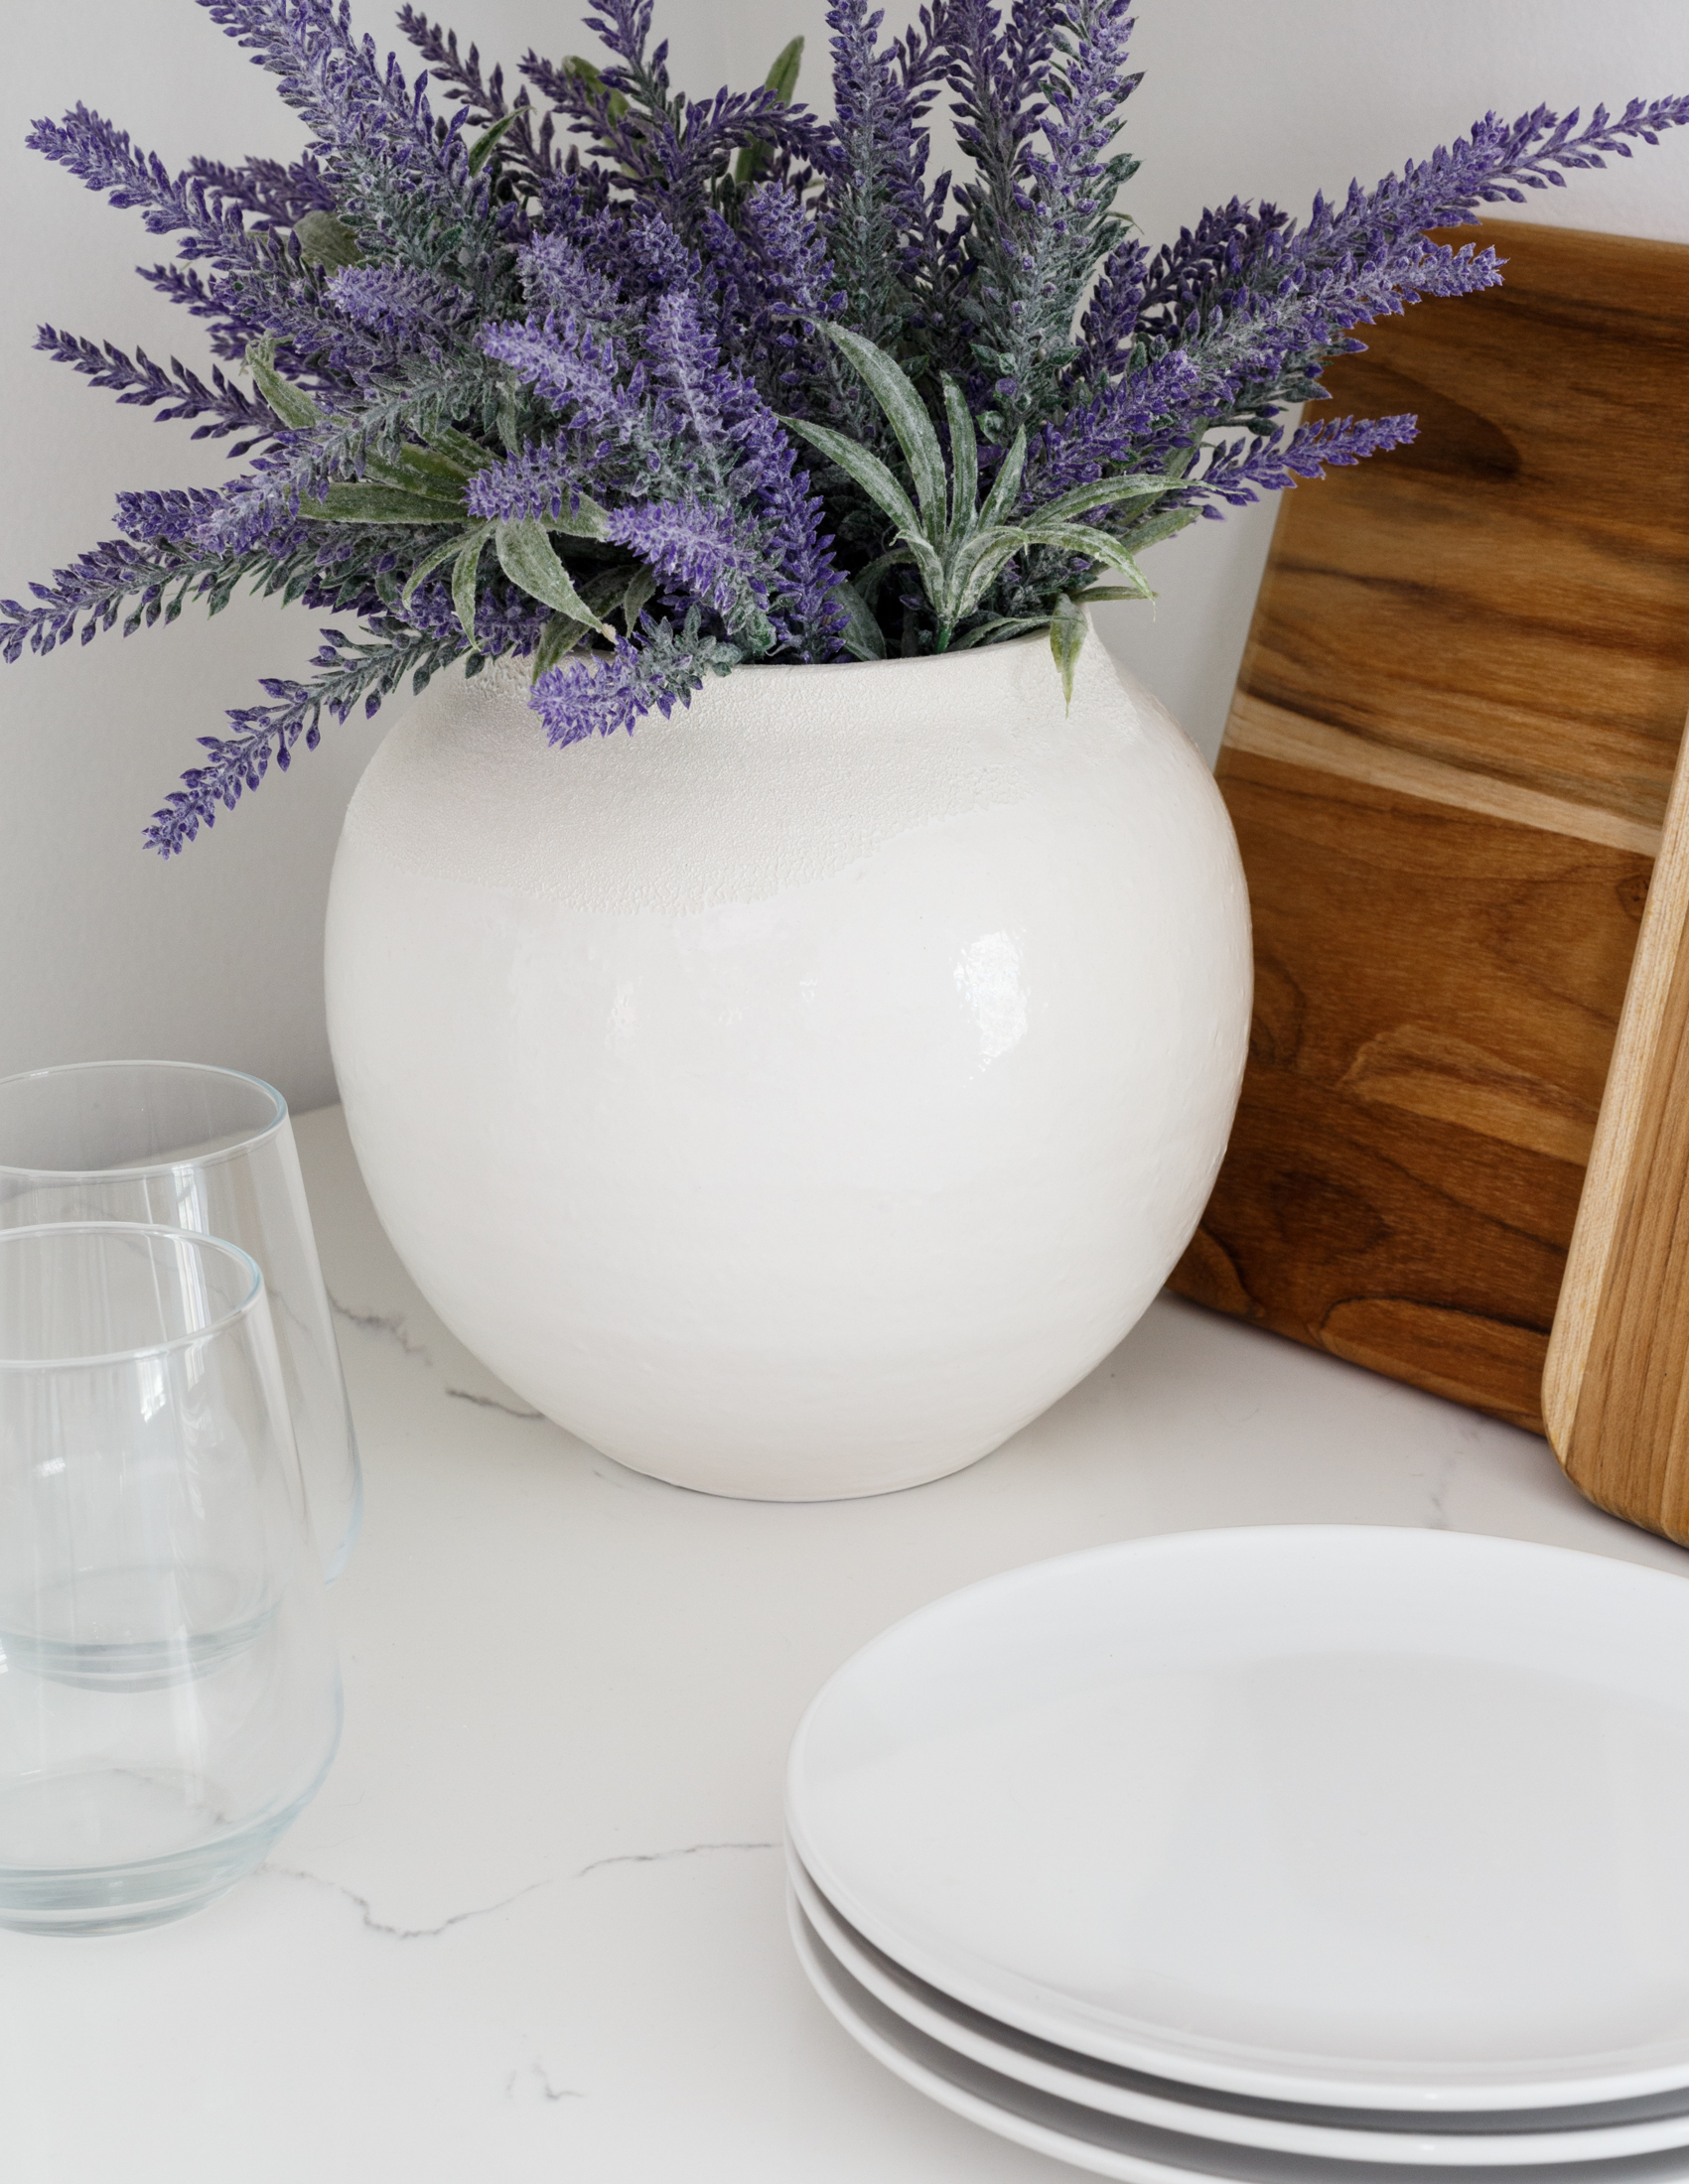
 The nook is now one of my favorite spots in the house! Painting the paneling white made all the difference. The wall color is Chantilly Lace by Benjamin More. But confession, it didn’t start out that way. I originally painted the kitchen Ultra Pure White by Behr, which is typically my go-to white because it is a super pure bright white. But once it was on the walls it felt too stark. I tried to live with it for a day or two, but the perfectionist in me just couldn’t deal. It was too stark. I wanted the white to have a hint of softness/warmth, but not yellowy. So I re-painted the entire kitchen Chantilly Lace. It’s such a lovely shade of white. I describe it as a “milky” white– it looks like a pure white (ie. doesn’t give a yellow undertone) but there is a creaminess/softness to it, so it doesn’t feel too stark. Most people don’t even notice that I changed the paint color, but I do…and that’s all that matters, dang-it!
Note: The cabinets and trim are painted Ultra Pure White by Behr.
 The light-fixture in the nook area was actually from our old rental that we reinstalled here. Because the nook is small and narrow, I needed a fixture that would not obstruct the space too much, and maintained sight-lines/views to the window in order to help the space feel more open and airy — the glass globe pendant does just that. I paired it with a semi flush-mount in the main kitchen area that has a similar style to help bring more cohesion to the two areas. Lighting is such a good investment as a renter because it can really improve a space, and you can always take it with you to your next place.
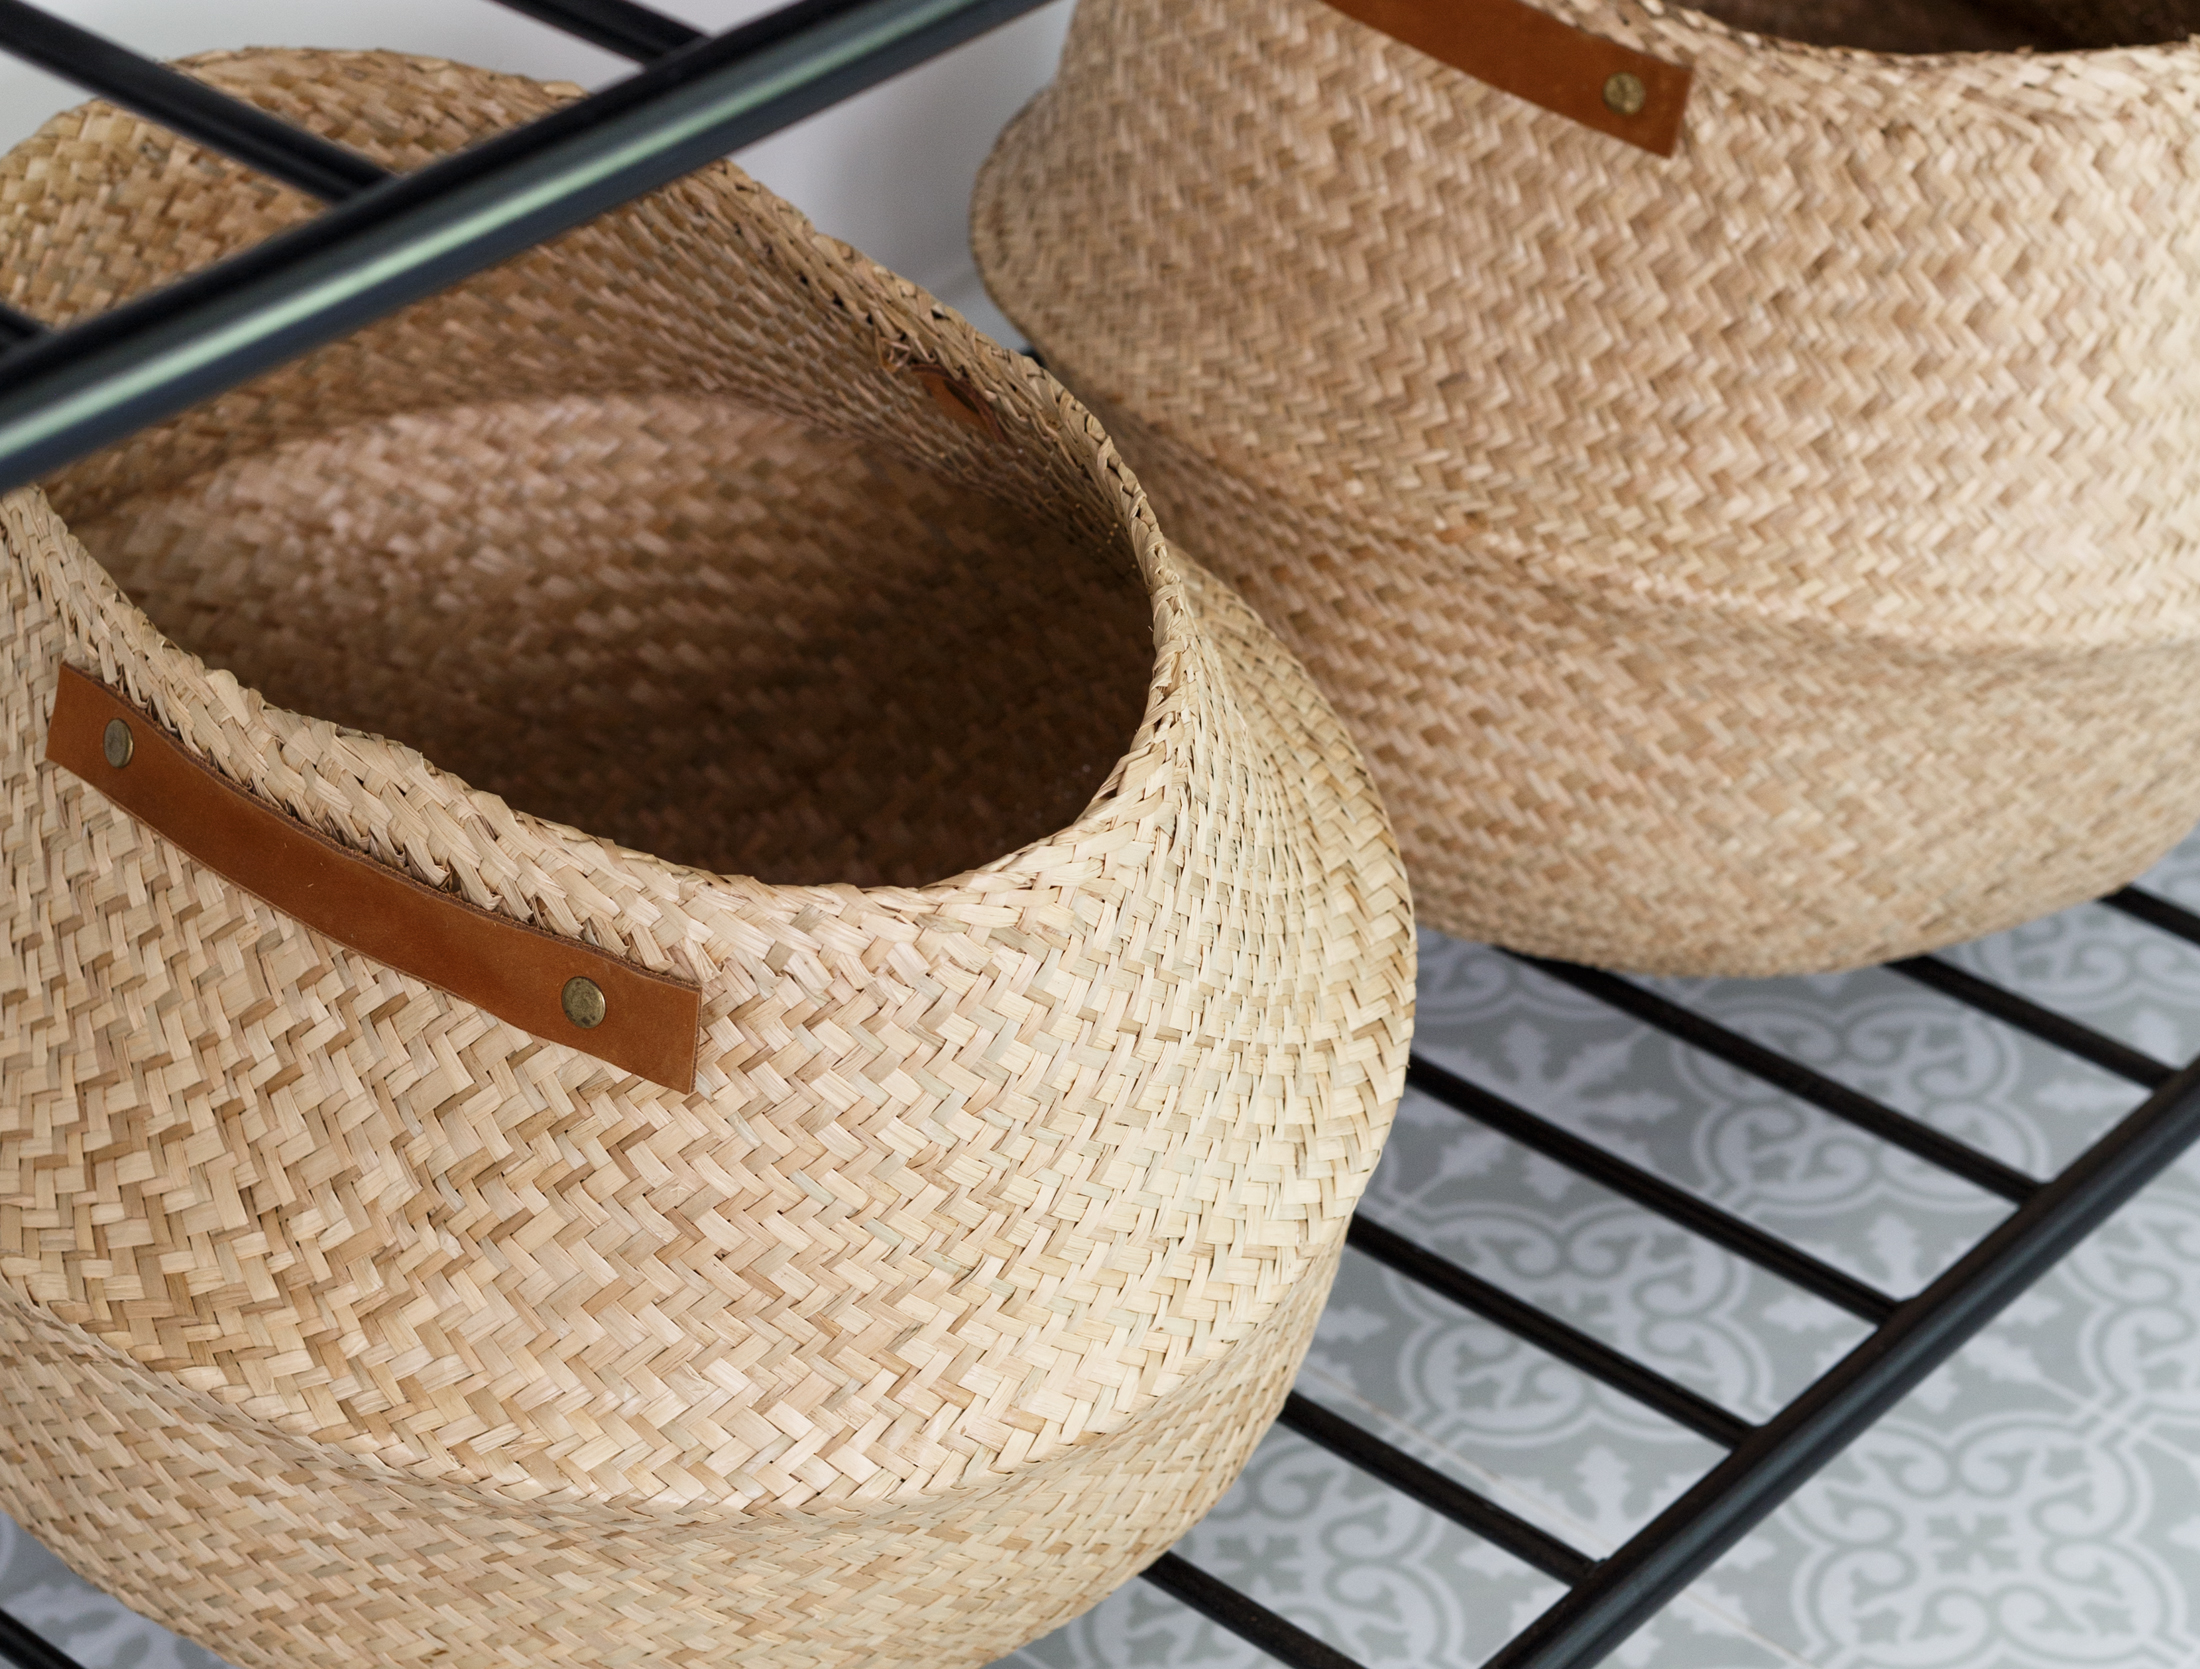
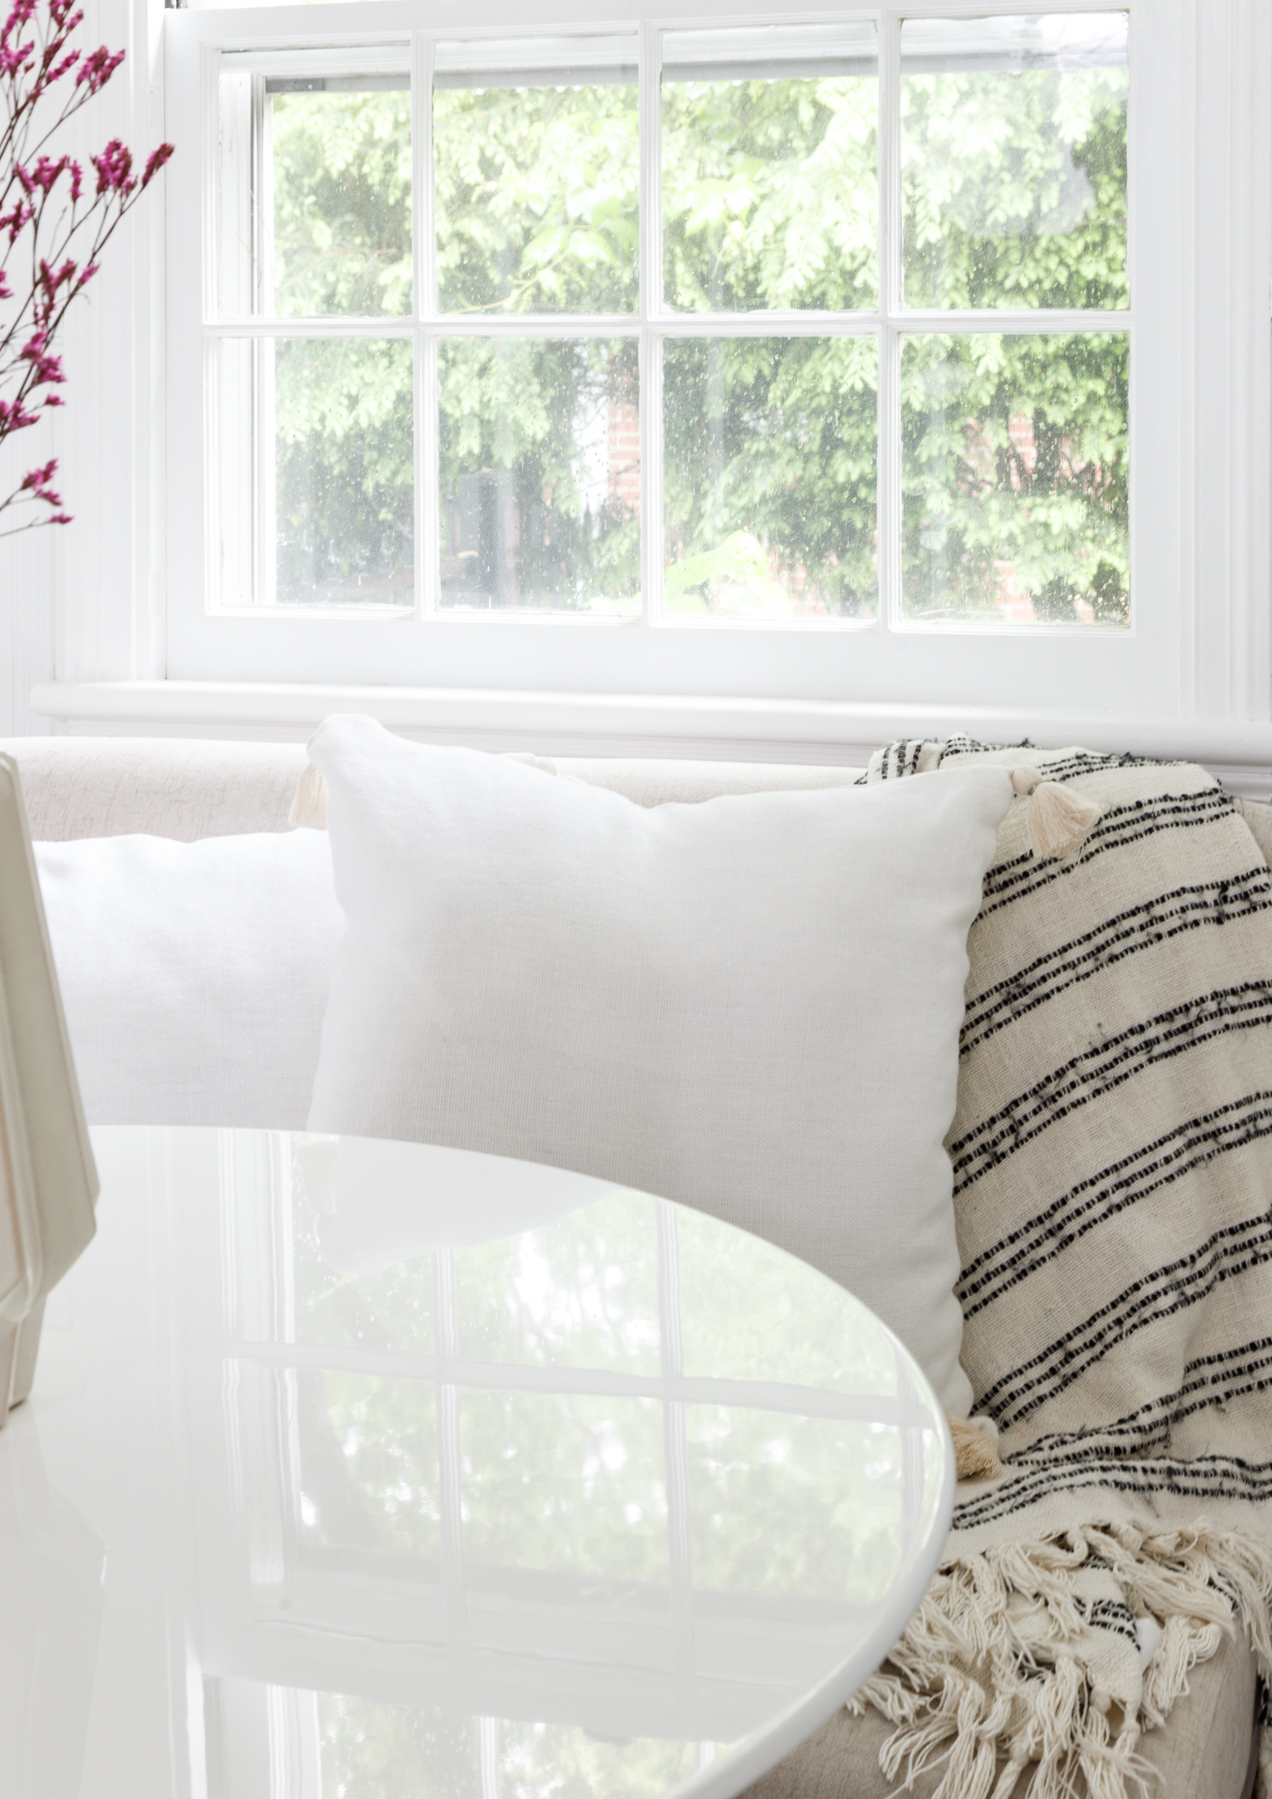 For decor/styling, I went with a cozy coastal cottage vibe. I kept the color palette light and airy, yet cozy by laying shades of off white textiles, and mixed in organic textures and natural elements, like the jute rug, woven baskets, and wood accents. And then added hints of coastal flair with the Serena & Lily Riviera chairs and ocean inspired artwork via Minted. If you want to “Get The Look”, I’ve created a Pinterest board with links to all (or similar) decor (here).

Budget Breakdown:
Now for the burning question… did we stay on budget? Nope. We spent every last penny of the landlord’s $1400 budget which covered countertops ($573), flooring ($200), tile backsplash ($80), sink ($320), cabinet hardware($65), and additional materials ($162). We then added approximately $500 of our own money to cover the additional purchases, like a new faucet ($167), new light fixture ($160), additional miscellaneous materials ($80), plus my decision to re-paint ($100).
As they say, you should always add an additional 30% contingency to your renovation budget to cover these types of problems or changes. Honestly, I knew from the start that $1400 wouldn’t be enough to cover the entire remodel. But I was concerned that if I presented a higher number to the landlord he wouldn’t agree to it. So I always knew I would have to contribute some of our own funds, and I was okay with that.
When investing my own money into a rental, I try to invest it in things that I can take with me to the next place, like lighting-fixtures and even hardware. When/if we move, I plan on re-installing the ugly old ceiling fan-light fixture that was originally there, and taking the new light-fixture with me. Heck, I may even take the new faucet with me (and install a cheap faucet in its place)…Unless of course the landlord wants to reimburse me for these purchases.
In the end, having a kitchen that I actually enjoy and want to be in is priceless! I hope you guys have enjoyed following along on this journey with me. I’ll be remodeling more spaces (like that hideous dining room) and making a lot more video content that may not be published on the blog, so be sure to subscribe to my YouTube channel too! And of course I want to know what you guy think, so drop any thoughts/comments/questions below. Thanks so much for reading & watching!
xx
Key

Comments
14 responses to “Our Rental Kitchen Makeover: The Big Reveal (video)”
You did an absolutely amazing job!
Thank you!!
I absolutely LOVE this makeover!! I’ve enjoyed following along on your journey and I look forward to seeing more of your makeovers!
Thank you! So happy you enjoyed this series. Can’t wait to make more videos. Thank you for following along and all your support along the way <3
WOW!!!!! Very BEAUTIFUL, Sis. you did a wonderful job. I know who to call for advice and suggestions.
Thank you!!
Awesome! I was like ‘wow’ when I saw the kitchen before/after. Amazing! Love the cooking recipe décor – what a concept!!
Your kitchen makeover is beautiful, fresh and bright!! Love it! Thanks for sharing. Looking forward to hearing more about the Quadrostyle flooring soon!
We all love a great makeover but you took it to another level! Really beautiful elements and a lot of thought obviously went into the planning to create such a soothing & harmonious kitchen. A pleasure working with you Key, all our thanks – Team Quadrostyle
Your kitchen is adorable!!! Quick question though, what app or website or home remodeling software did you use for your design plan? I think it is important that you can preview the work before you make any changing.
Thank you so much! I use photoshop and sketch up for design plans.
The makeover is amazing! I see the items you used numbered above, but is there somewhere to find the links? Or am I just missing it? Anyway, fantastic job. I’m inspired!
Oh never mind. I found your Pinterest board with links. Wasn’t expecting that, but it’s great. Thank you!
Oh no! I’m not sure what happened to the links, but yes you can find everything on the Pinterest Board. Sorry about the confusion. Let me know if there is anything else you need <3