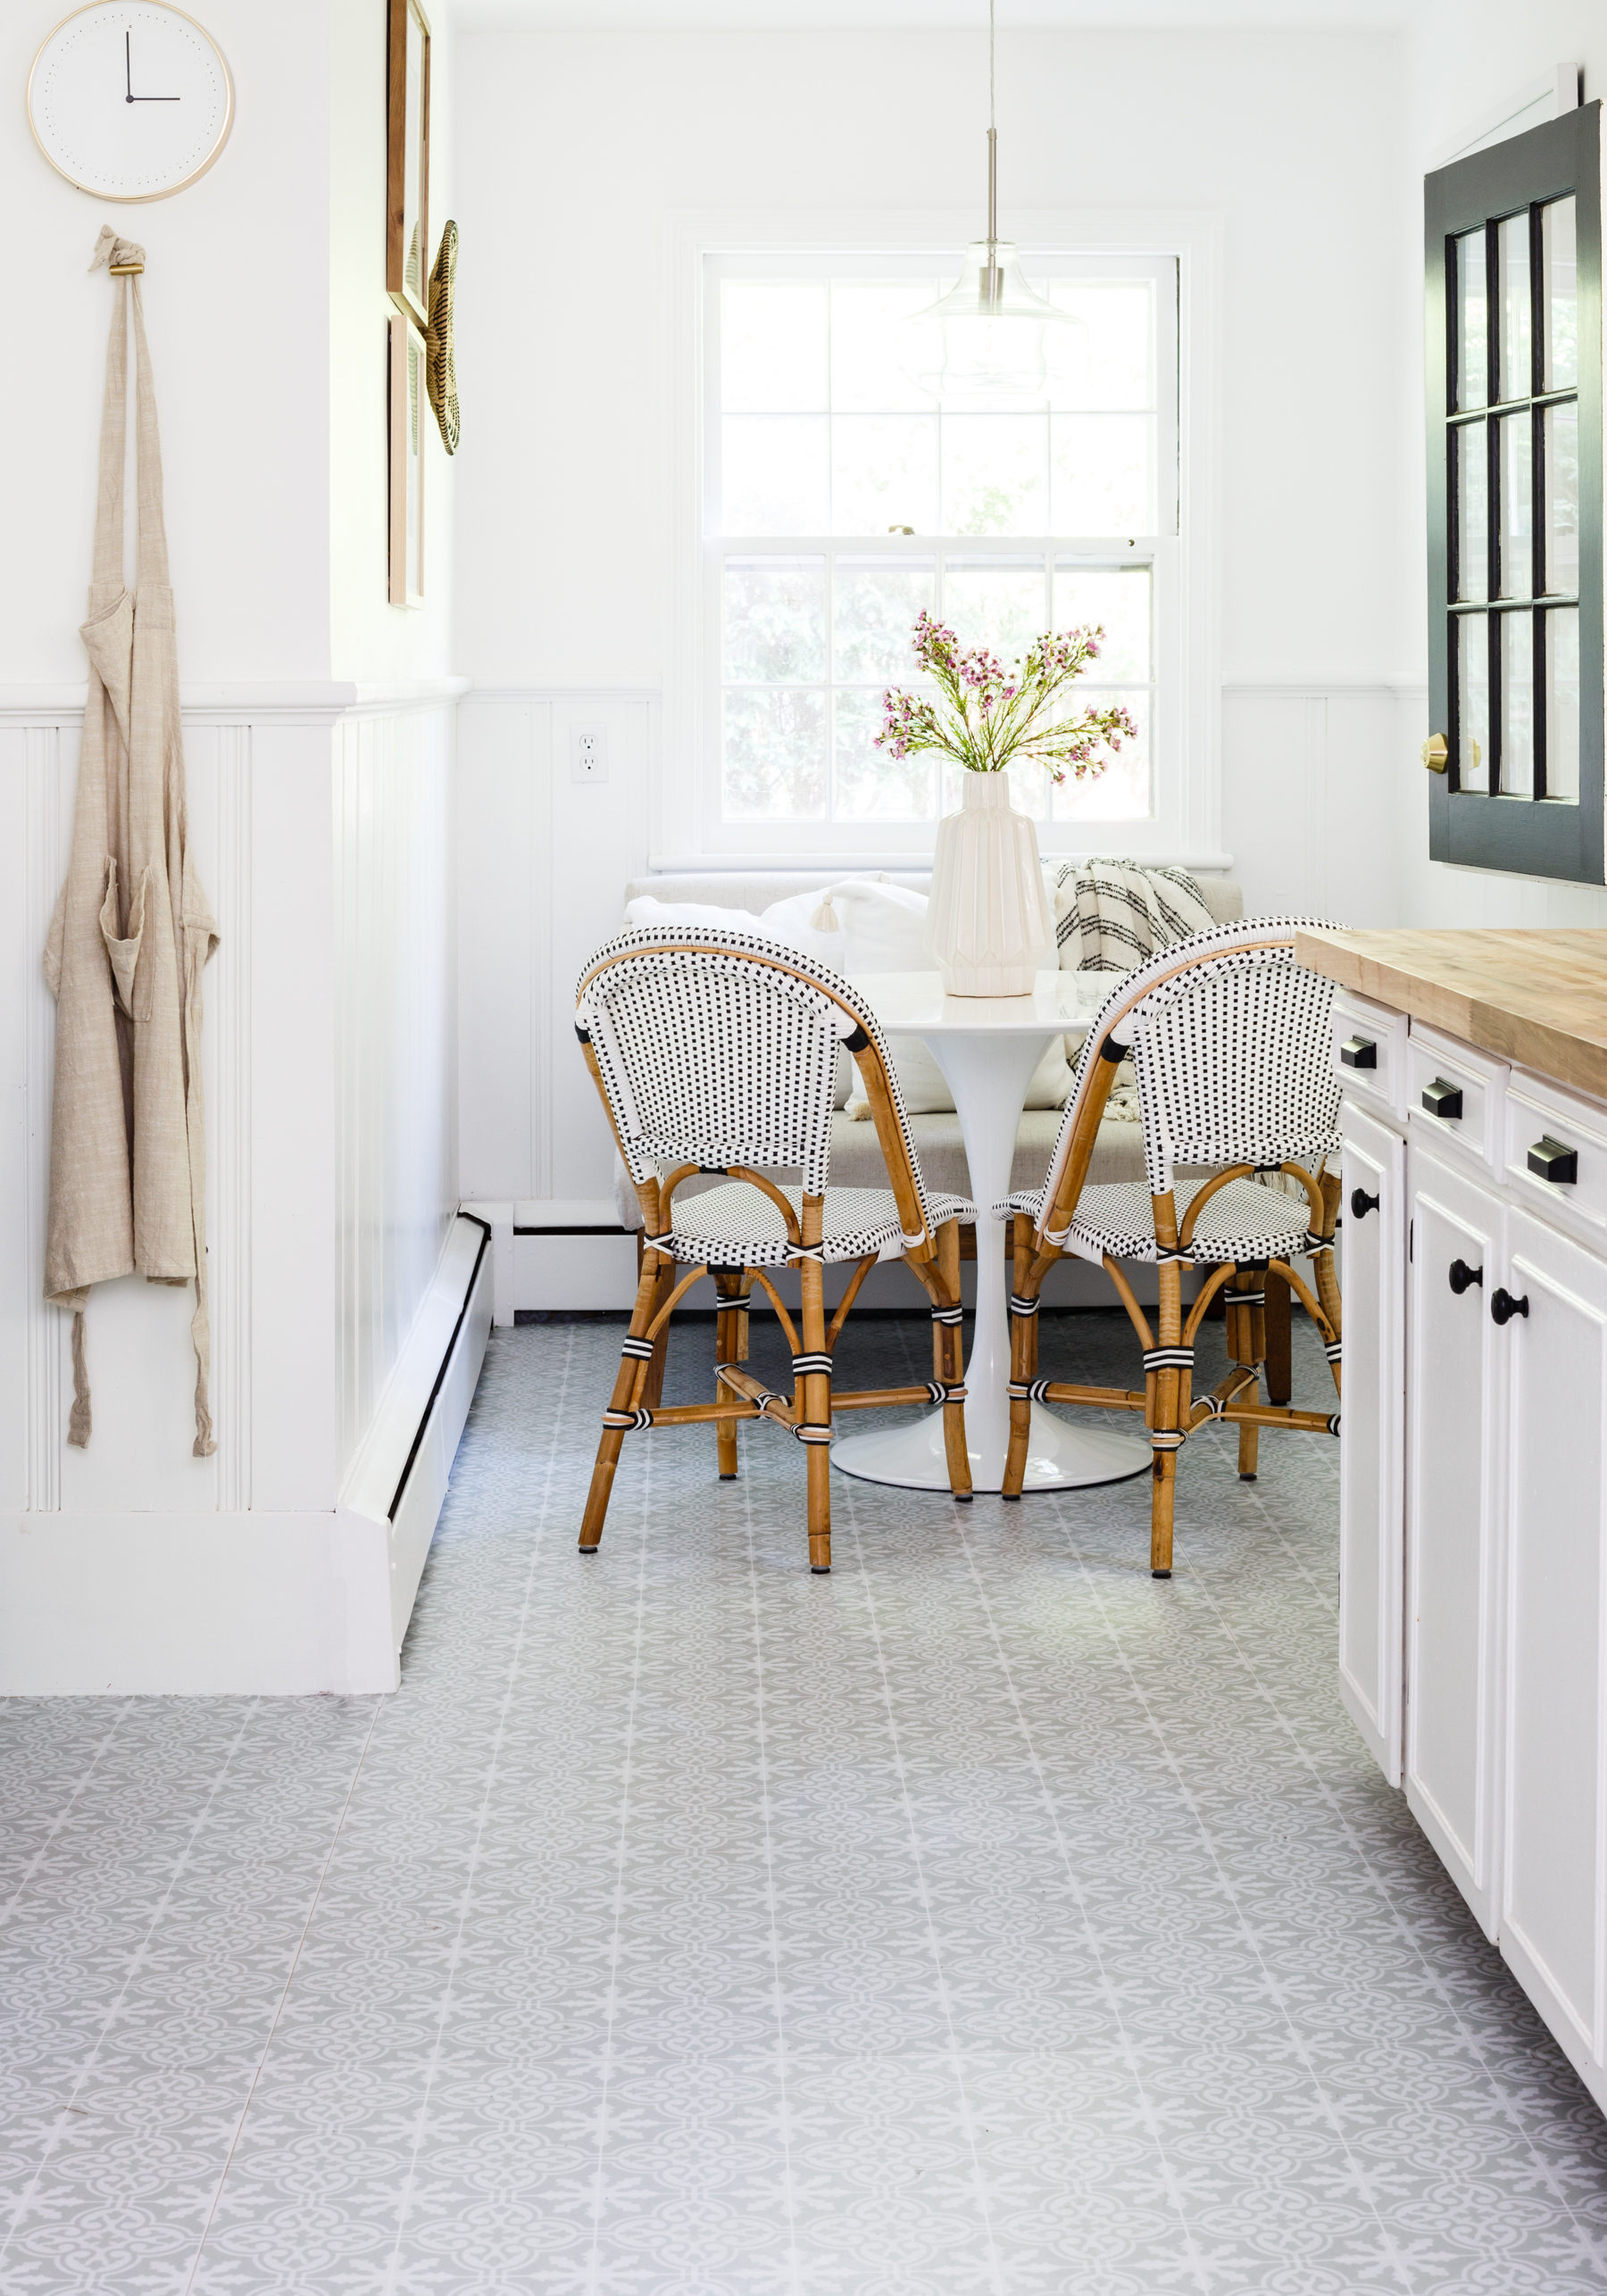
 It’s been a few weeks since I shared the Big Reveal of my Rental Kitchen Makeover (watch here) and I’m still blown away by all the positive feedback and kind comments I’ve been receiving. Thank you! I’m so happy you guys enjoyed the series and I can’t wait to make more videos so be sure you subscribe to my YouTube Channel! One of the questions I get asked the most about the updates I made to the kitchen is, “how are the floor stickers holding up?” Followed by… “Can you mop them?” So today, I wanted to give an in-depth review on my Quadrostyle peel and stick floor stickers.
Let’s start from the very beginning…
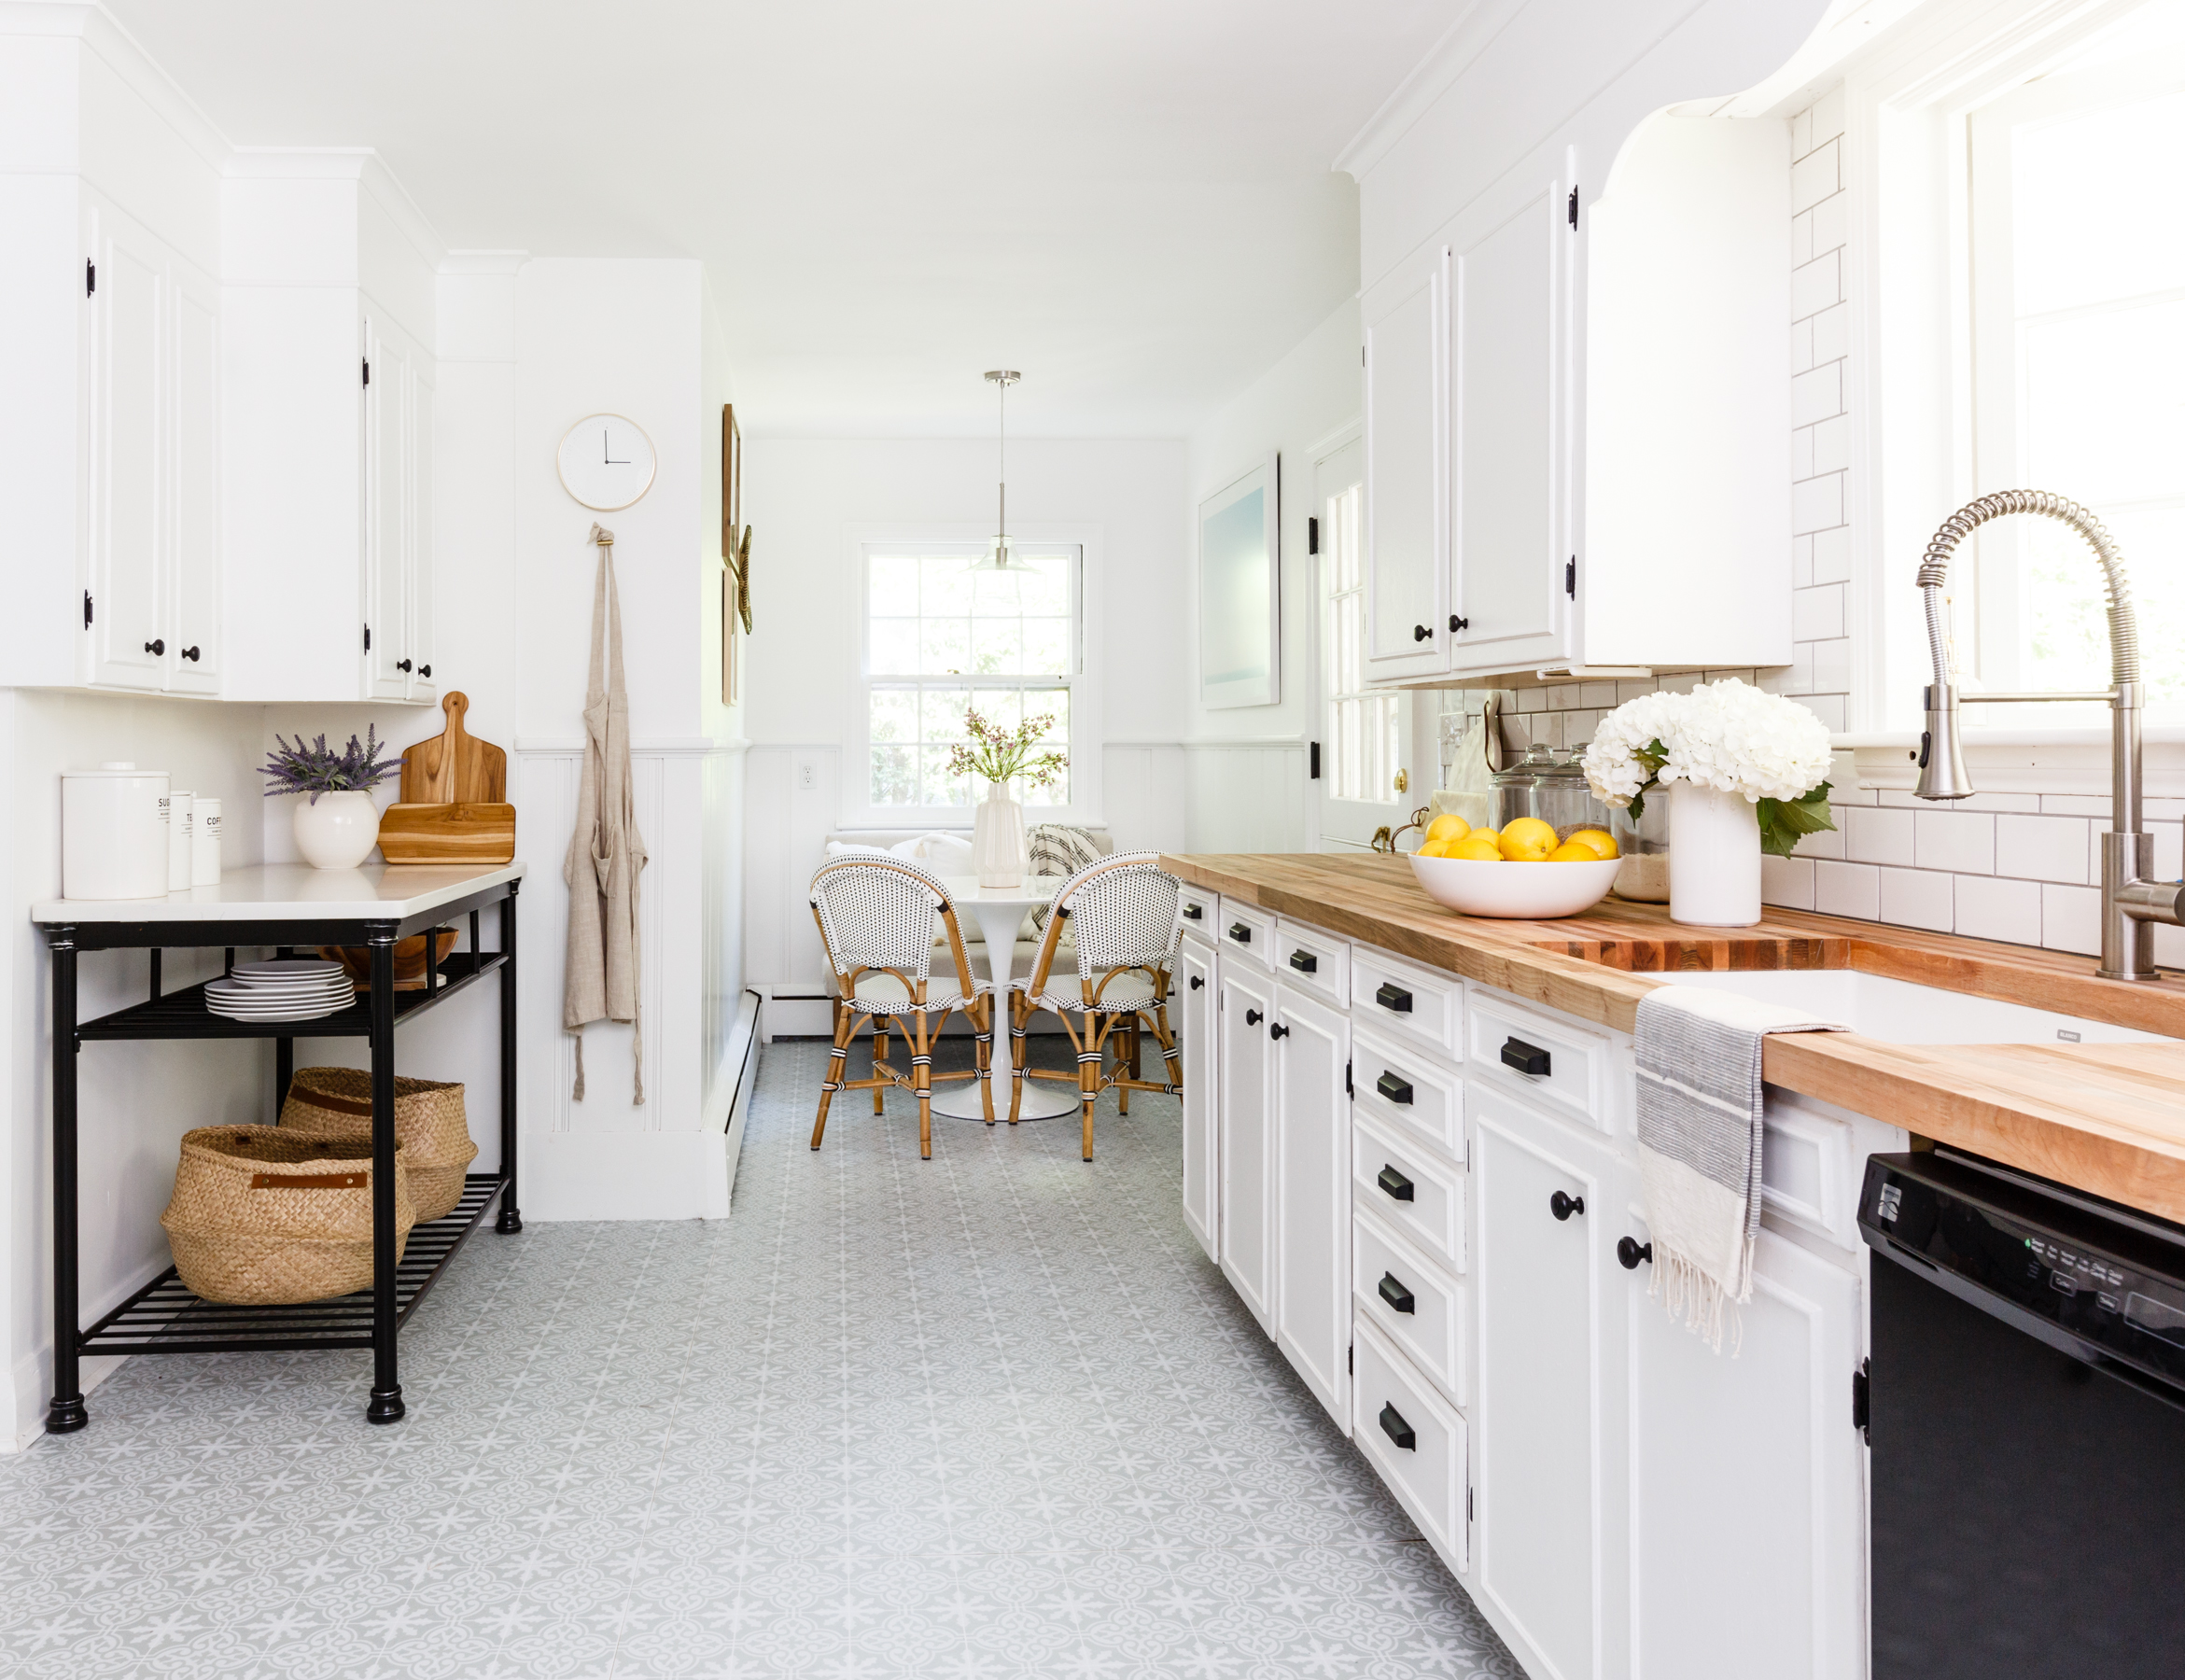
When I decided to document my rental kitchen remodel, one of my goals was to incorporate products and materials that were renter-friendly, because not everyone has a landlord who will allow them to make permanent changes to their space. I came across Quadrostyle peel & stick floor stickers via a Pinterest search for diy flooring. At first glance, I figured the flooring was just typical peel and stick vinyl/linoleum (ie. not temporary and thus not rental-friendly). But, after doing a little more research on the product I discovered that the flooring could actually be laid directly on top of the existing floor AND be removed without causing any damage. To make things even better, there were a ton of stylish pattern options to choose from. I was instantly sold!
After measuring my kitchen (300+ sqft) and doing some calculations on how much flooring I would need, the cost of the flooring was outside the budget I had allotted for flooring. But I was determined to showcase renter-friendly solutions, so I reached out to the company to see if they would be willing to sponsor the flooring, and they agreed! Full transparency here, I did agree to cover the shipping fee, which was around $200 because it was such a large order and being shipped from overseas. I originally budgeted around $600 for new flooring. So budget wise, even though the shipping cost was pretty steep, I still ending up “saving money” on the original flooring budget.
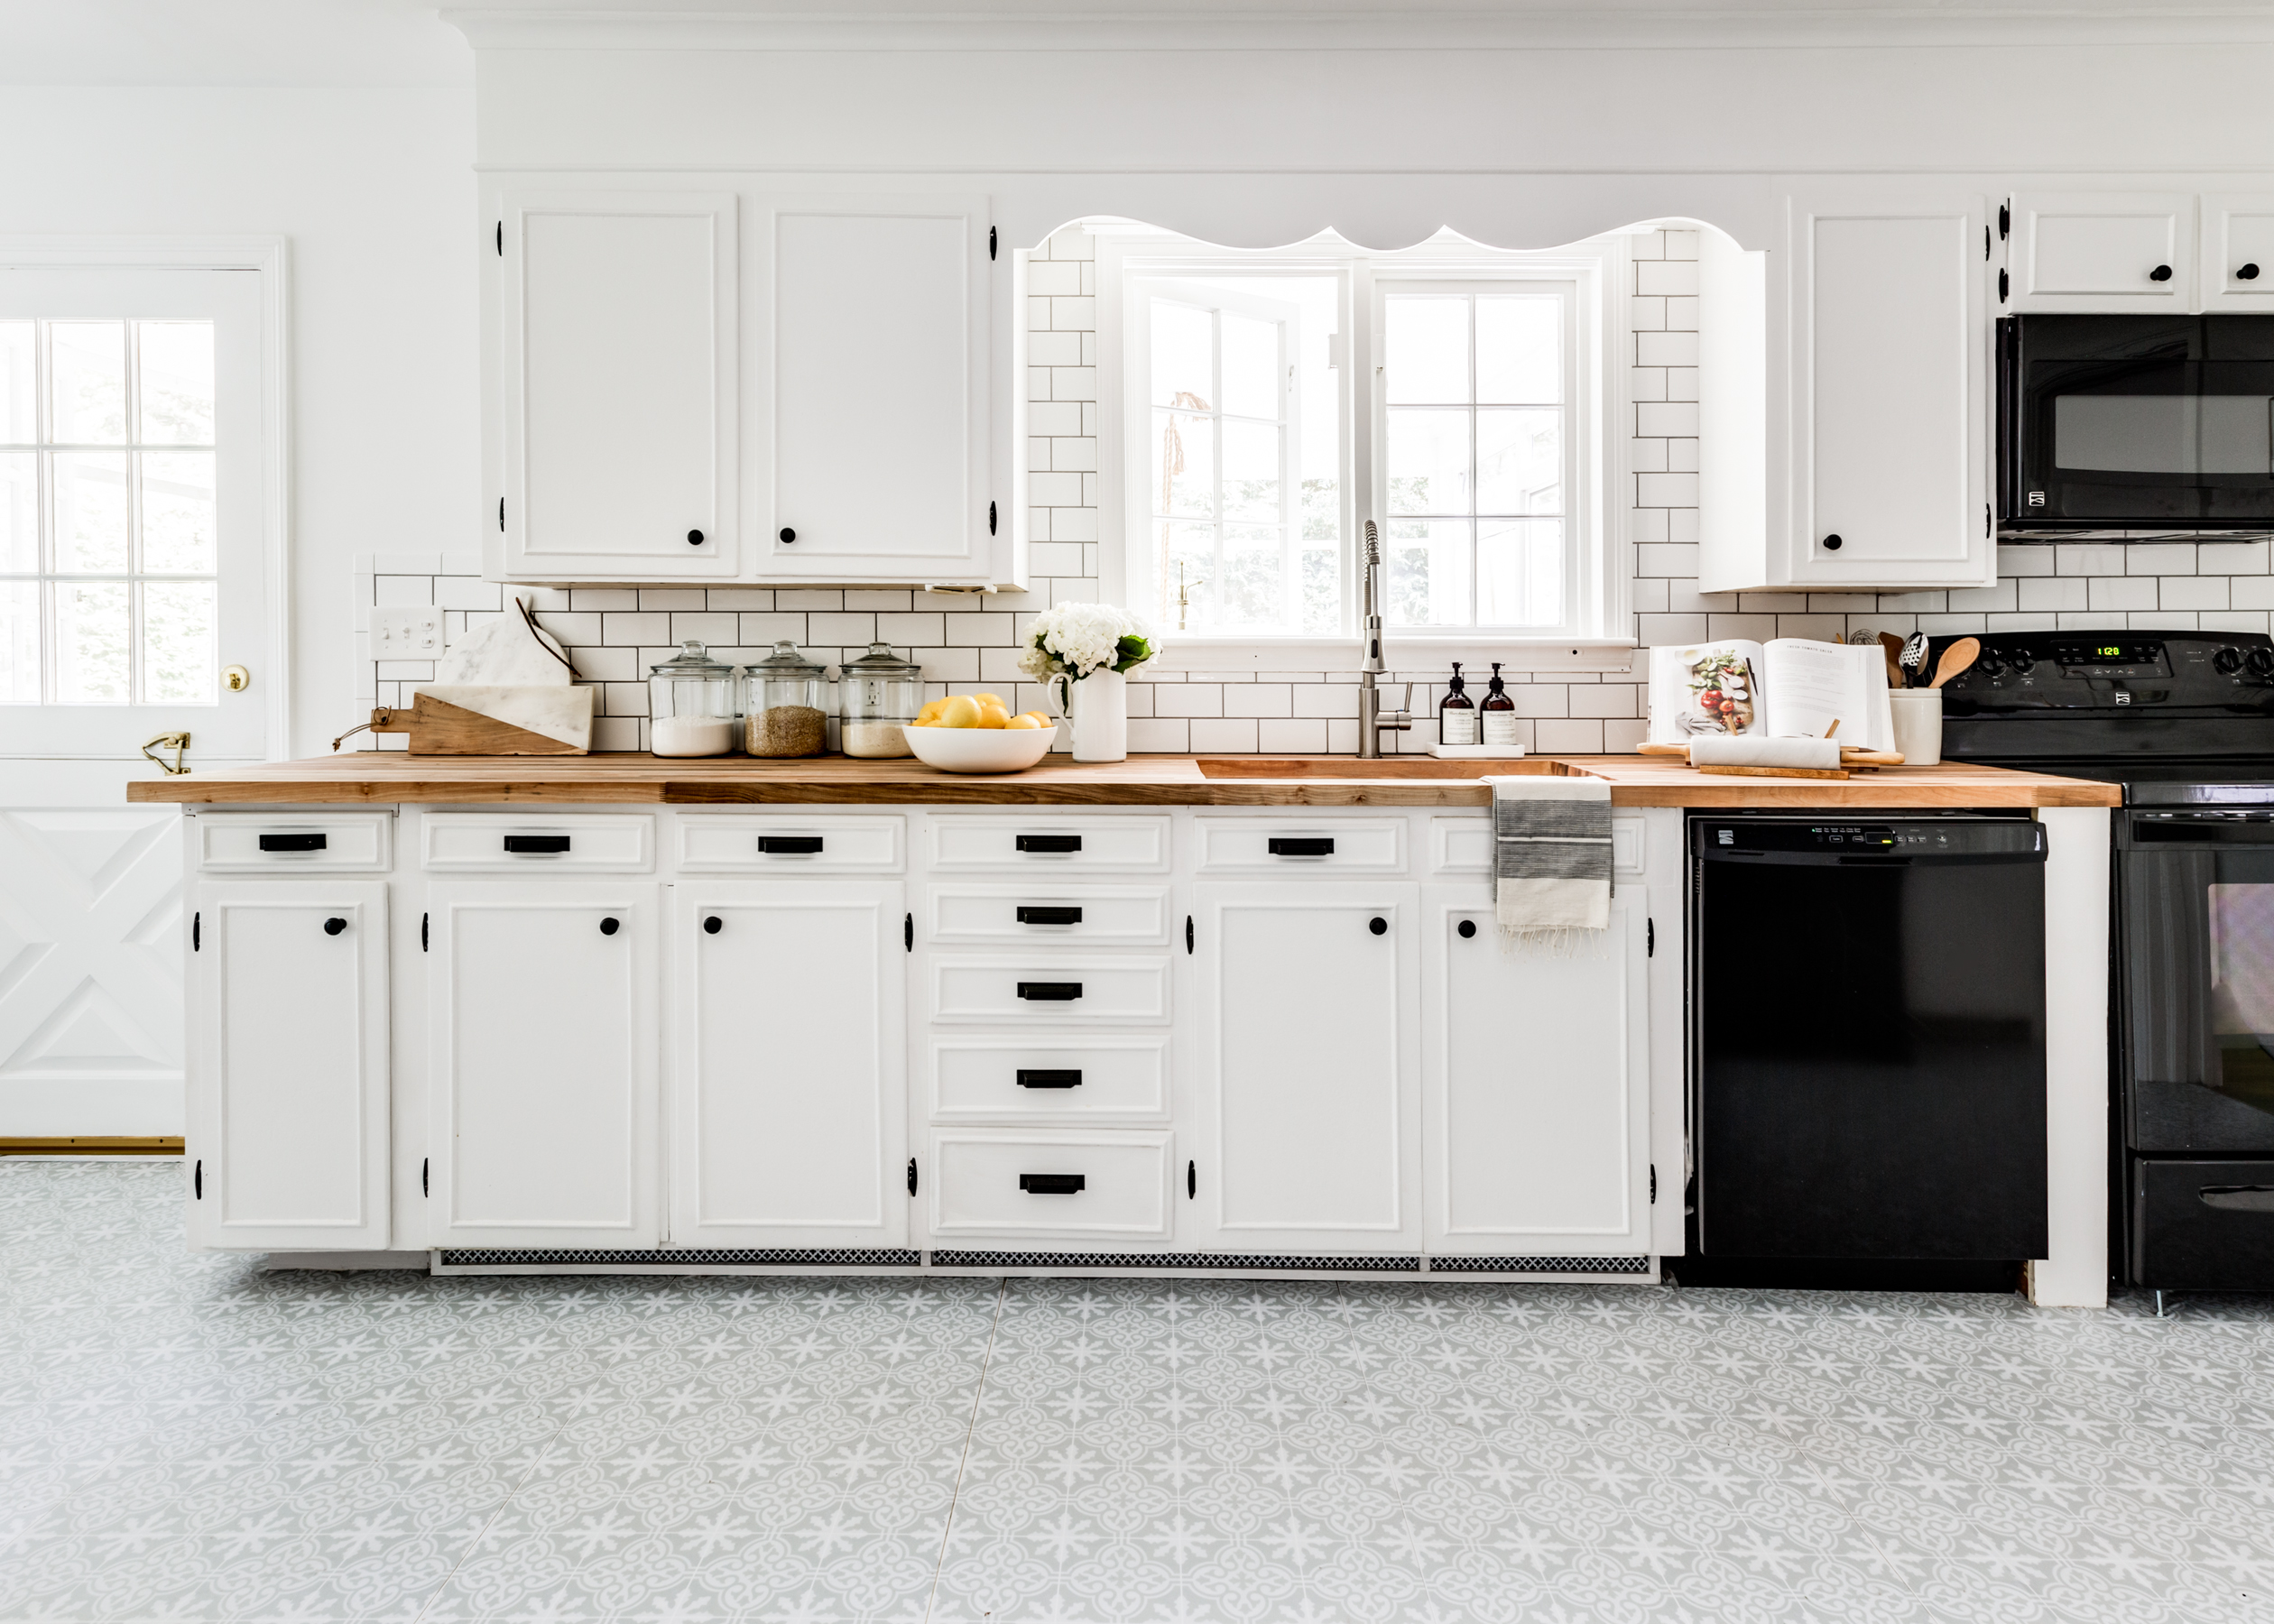
The flooring comes in two options: 2’x4′ panels for flat surfaces, or 12″x12″ squares that can be laid individually on top of existing tile. They also offer custom sizing to fit on top of any sized tile/surface. Since my existing kitchen floor was linoleum, I ordered the floor panels. (I really wish I had tiled floors because the stickers would look even more real with grout lines).
The floors arrived very fast, within 7 days, and the customer service was amazing! When I pulled the floor panels out the package, I remember thinking, “man these things are thin”! I mean, it’s literally a “sticker” (as advertised). But don’t let the thinness fool you, they are seriously durable! The floors are made from a material that is used to make outdoor signage and vehicle wraps, so it can easily withstand dirt, debris, and water/moisture. These floors have handled me clunking around in shoes/heels (and I’m very heavy footed), dirty pet paws, spills, dropping things (I’m clumsy), etc. I’m sure I may be shortening the lifespan by not being more “gentle” on them, but I must say I am beyond impressed with the durability!
Initially, I was thrilled by how diy-friendly installing the panels would be– just peel and stick! However, the installation process was a bit more challenging then I expected. This wasn’t because of the product, it was because I live in an old house with extremely uneven floors, plus I was covering such a large surface area (300sqft), so it was hard to get the patterns to line up. Thank God for my extremely patient husband who took the time to realign/readjust each panel little by little in order to get the patterns to line up as best as possible. The interesting and great thing about the flooring is that the adhesive is low tact, so it does not leave any type of residue on the existing floor and allows you to peel up and readjust/realign the panels as needed. A few panels we (and by “we” I mean my husband) re-adjusted 3-4 times, and yet, it did not lose its tackiness and still adhered to the floor. Amazing! Overall it took us (my husband) a few days to finish the floors. There are a few very tiny gaps in between some panels, and places where the pattern doesn’t line up perfectly, but you don’t notice unless you are looking for it. Again, if we didn’t live in an old house with crooked floors (and weren’t covering such a large space), I’m sure the installation would have progressed much faster.

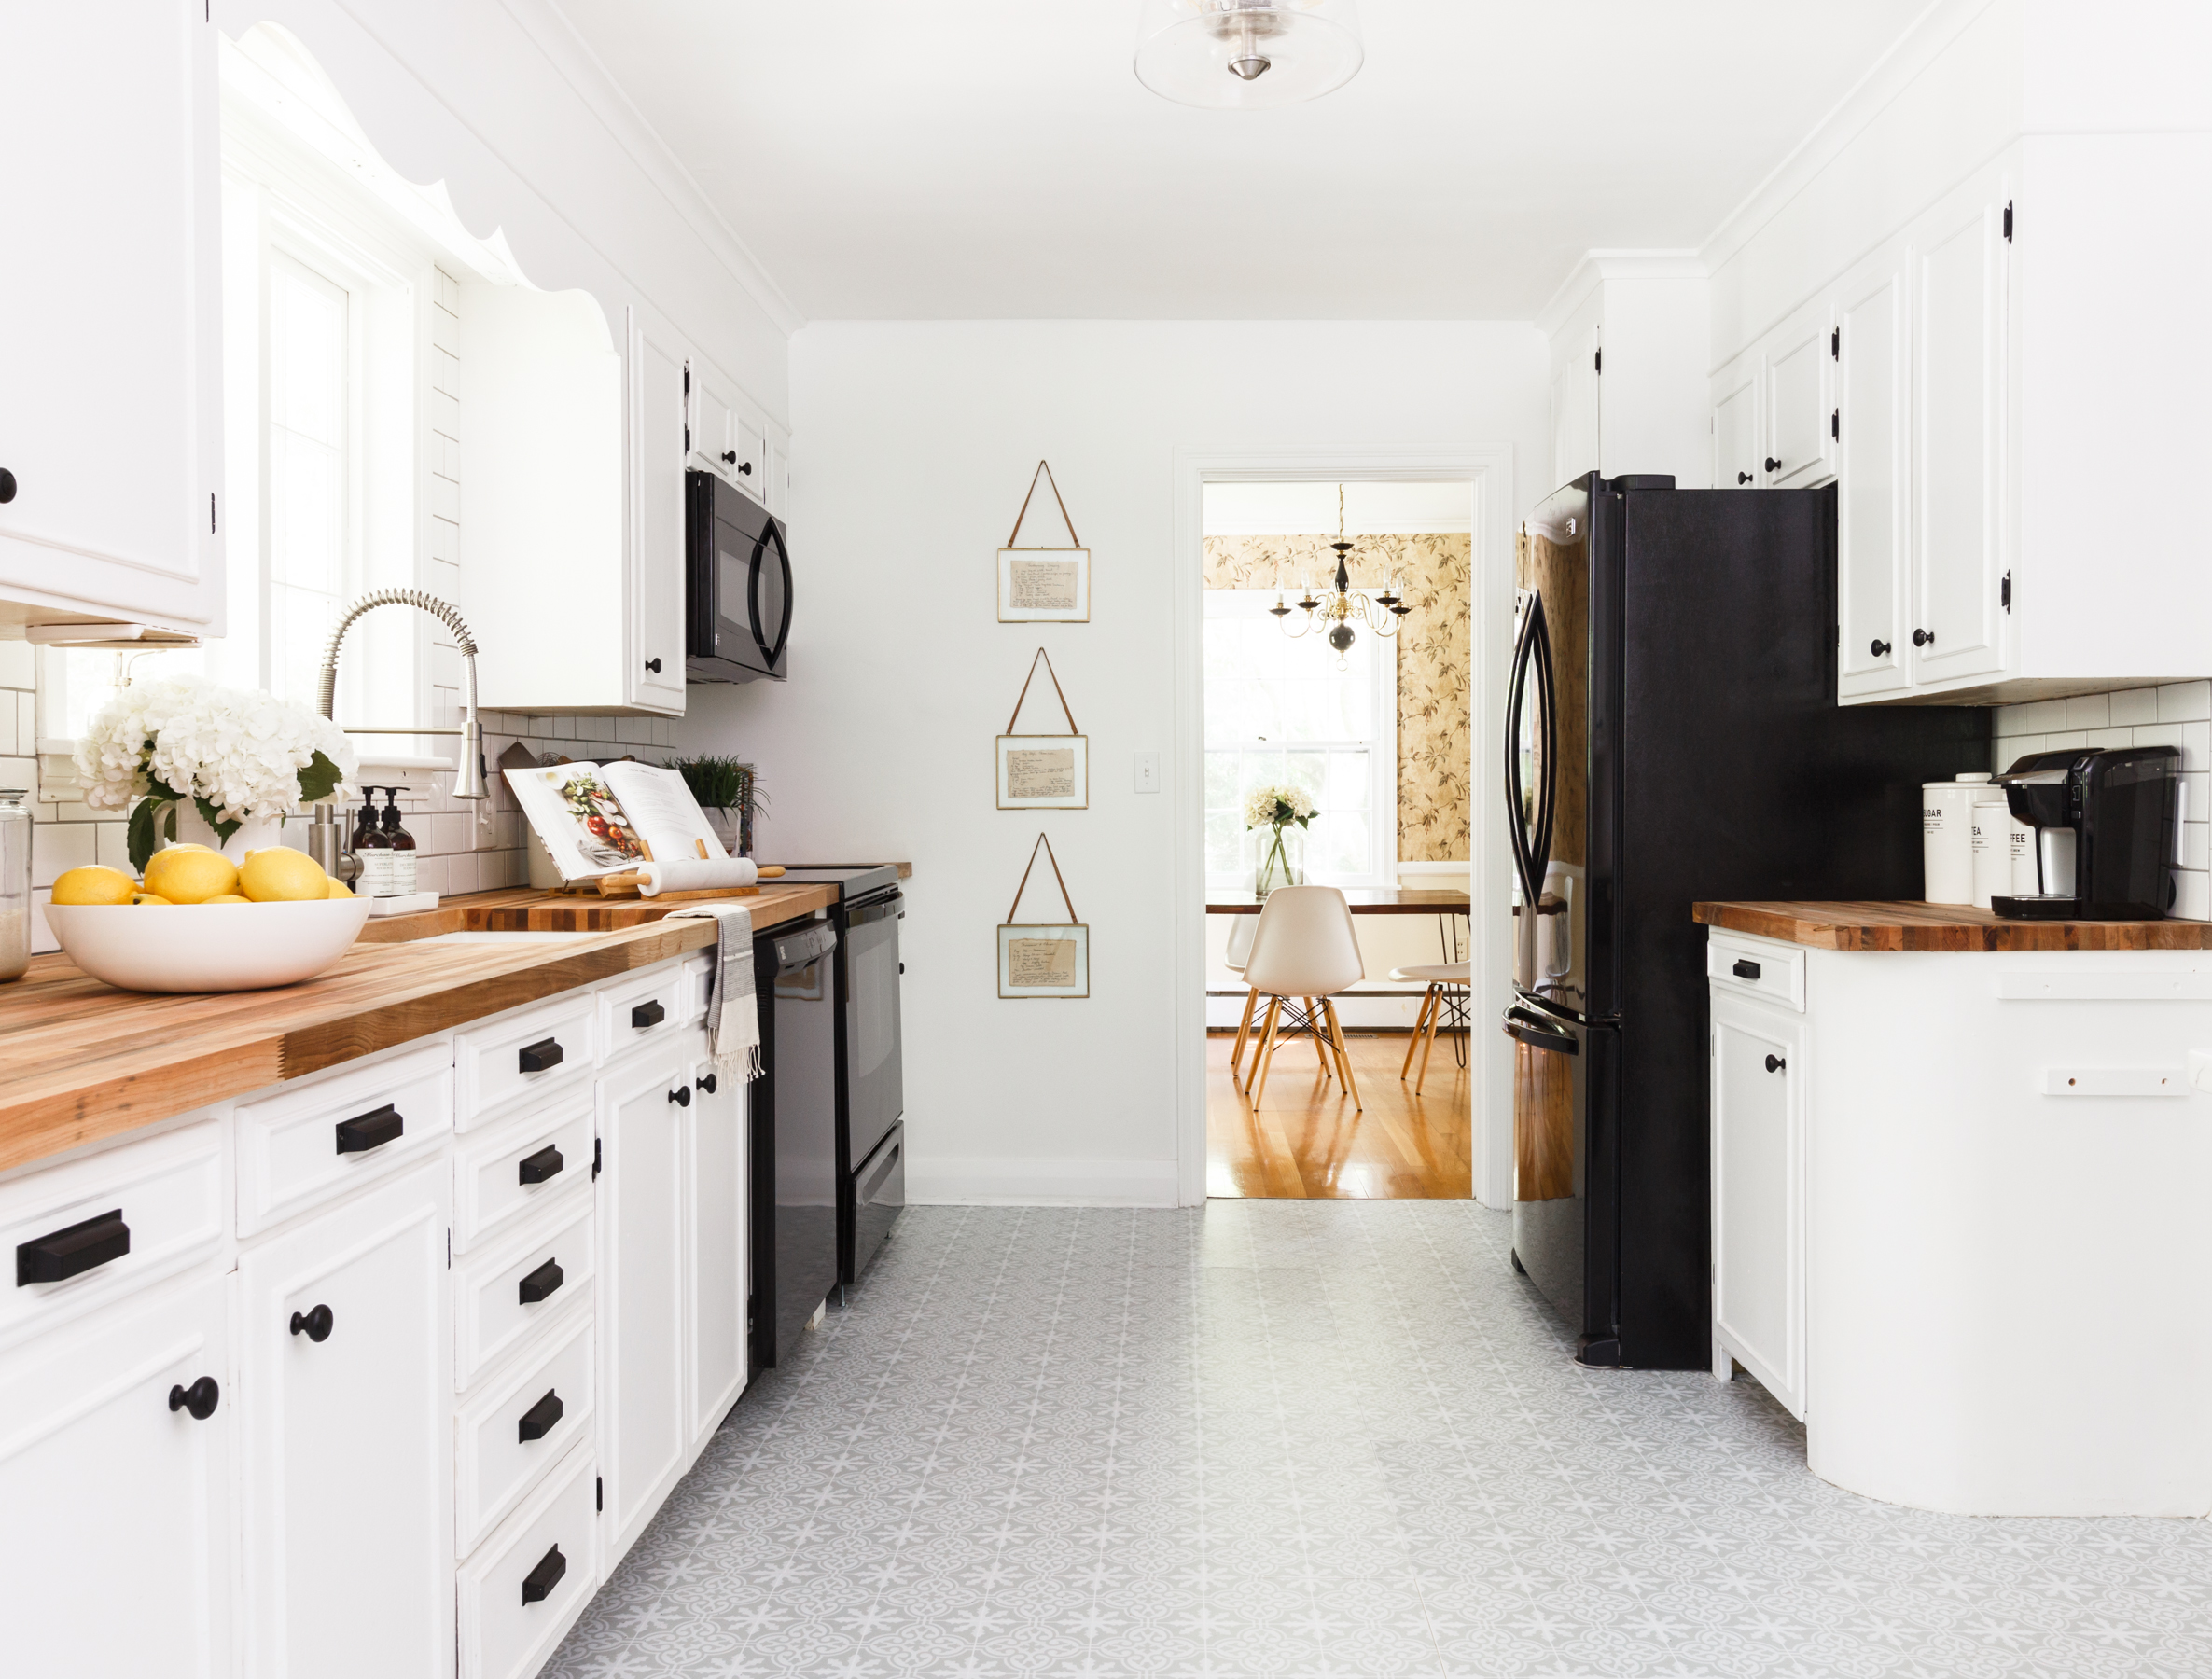
Another thing I was pleasantly surprised by is how easy maintenance has been. At first, I was super nervous to mop the floors because I thought if I used too much water, or mopped them too much that they may start to peel up. But having now mopped the floors for over 3 months (with my swifer wet jet) I have had no issues!
The only issue I have had with peeling is due to my own fault. The instructions clearly state to make sure to clean the existing floors extremely well because the flooring must be installed on a dirt/debris free surface. Well, we have baseboard heating in our kitchen, and it was hard to clean/mop underneath the heater, so there is a small section underneath the baseboard where the panel would not adhere properly. Luckily you can’t really notice it because it is underneath the heater, but I may need to eventually replace that panel in the future. So, if you plan on installing these floors make sure every crack and craves of the existing floor is clean before applying the stickers. Do no skimp! The good thing is, since the flooring is removable, I can always order a replacement panel. Easy Peasy!
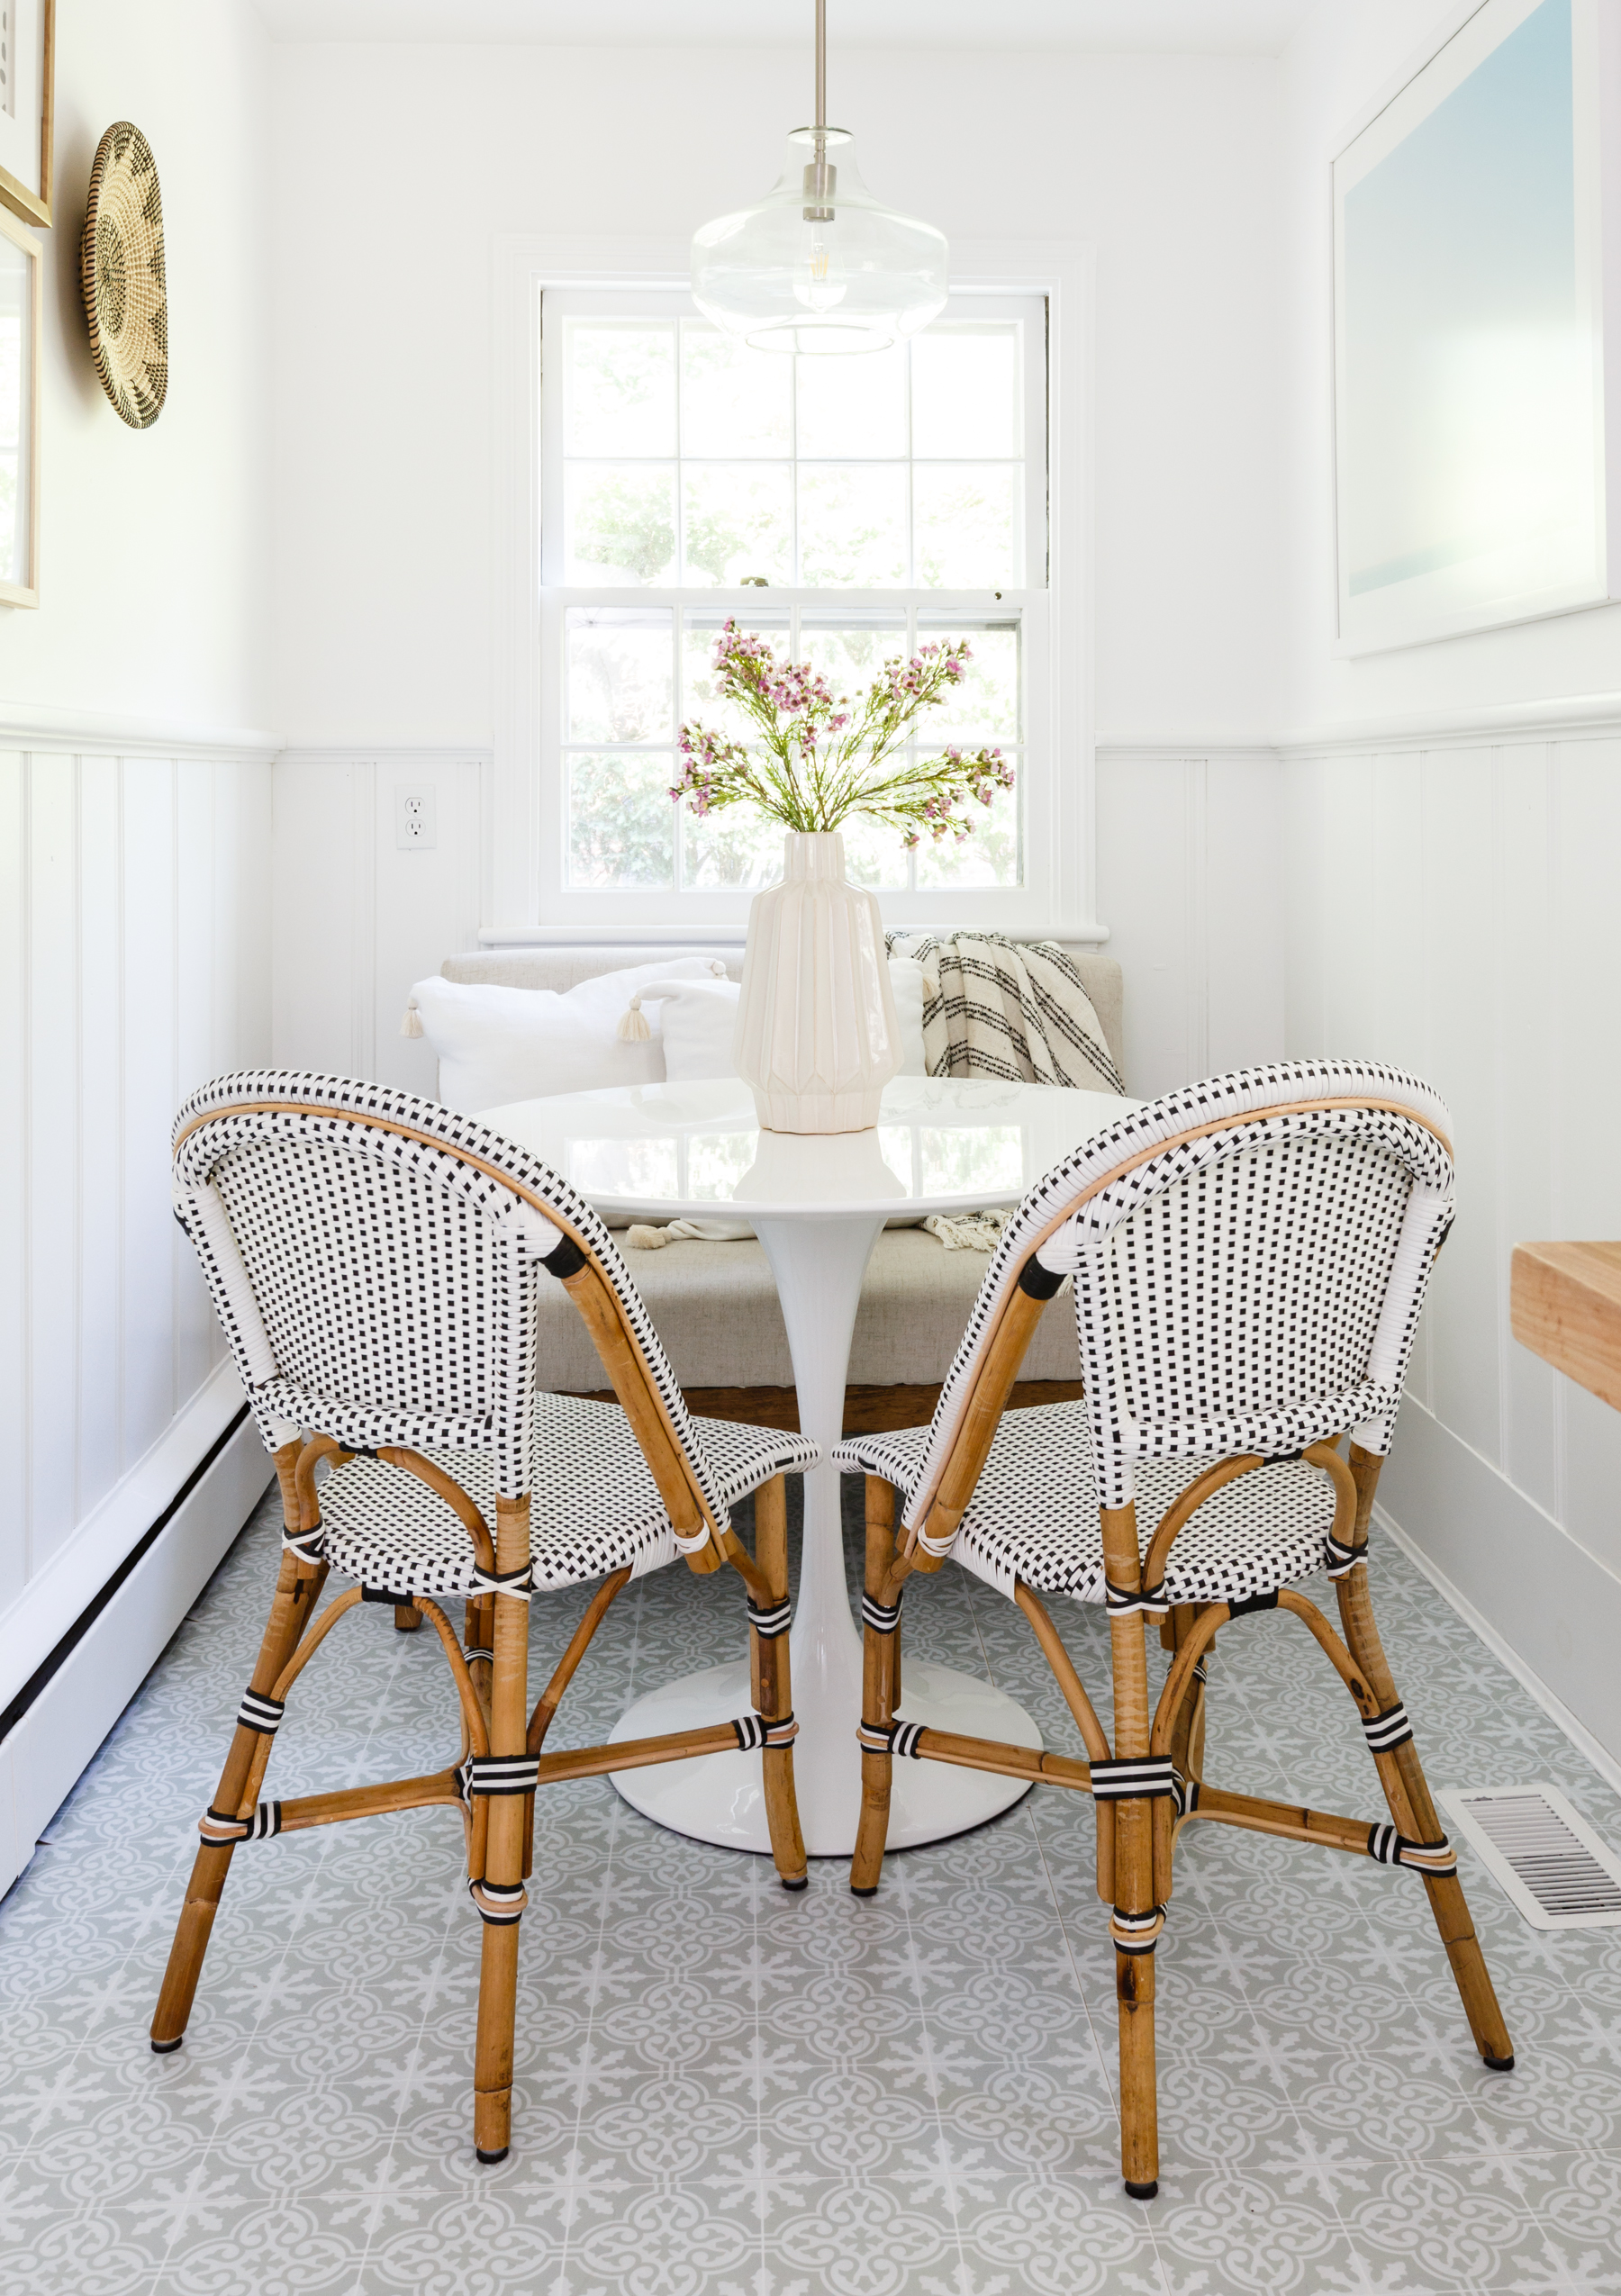
Overall, I am so happy with the Quadrostyle Peel and Stick Floor Stickers and highly recommend this product! I think it’s a great option for people looking to update a small space, like a bathroom, or for people who need a renter-friendly or temporary flooring solution. If you have any questions about my floors drop them in the comments below, and for more information on Quadrostyle products (they also make removable wallpaper) you can visit their website www.quadrostyle.com.
Thanks so much for reading and a BIG thank you to Quadrostyle for partnering with me!
This post was sponsored by Quadrsotyle. All opinions and thoughts are my own.

Comments
7 responses to “The Lowdown on my Peel & Stick Kitchen Floors”
Hi Keyanna, what a pleasure it was to collaborate with you on your latest project. You have a real eye for style. Naturally, we are thrilled with the results and trust the durability of our floor panels will stand up to whatever you throw at them. Enjoy your superb kitchen, I’m quite envious!
My question is, does the floor look like real vinyl flooring? Or does it look like a big sticker?
It’s similar to a vinyl look. It doesn’t look exactly like vinyl because it’s not as thick as real vinyl flooring, but its close. It definitely does not look like a big sticker. My installation and makeover videos (linked below) may help you get a better sense of how the flooring looks in “real life”. Thanks for reading!
https://youtu.be/q8jg-JDa3q8
https://youtu.be/jmklNxUUOis
I’m wondering how this has stood the test of paws?? I have two dogs and also two cats. Just wondering how well they handle the pet claws/nails
Hi! I have a small dog (maltese) and a cat, they are always running/playing in the kitchen, and the floors are holding up perfectly. I also walk around in shoes/heels on the floors. I seriously can’t believe how durable the floors are, being that the vinyl/material is so thin. I’m still very satisfied with them.
Wow, I’m impressed! Can you rent my home and do a makeover? Great design choices!
Haha, sure! Thank you so much!!